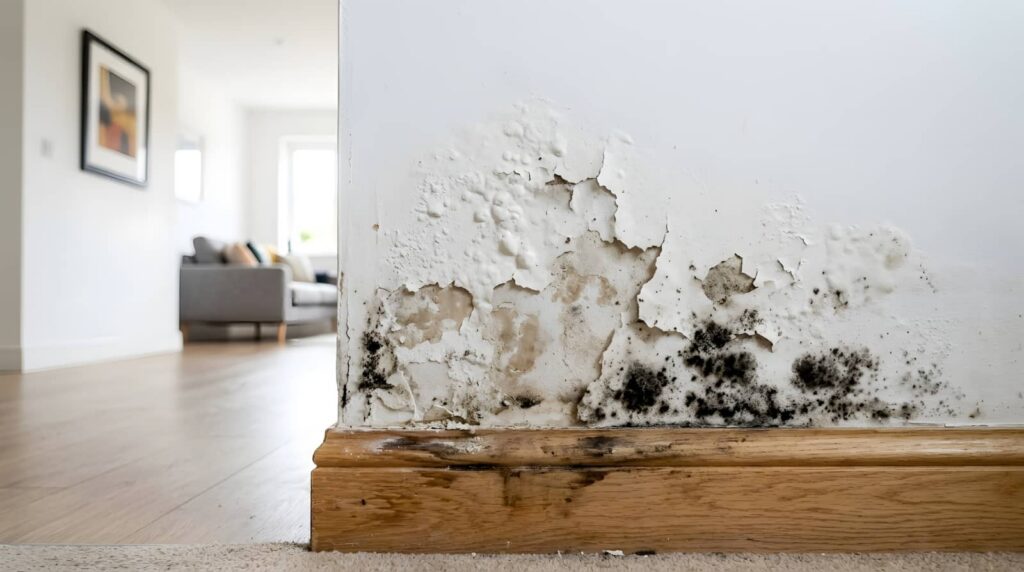
Understanding the steps for emergency water removal can make a significant difference in minimizing damage and preventing costly repairs. From evaluating safety hazards to using specialized equipment, each step is essential. Let’s explore the process in detail, ensuring you’re prepared to tackle such situations effectively.
Key Takeaways
- Assess the situation for safety by checking for electrical hazards and ensuring structural integrity before entering the affected area.
- Document the damage with photos for insurance purposes and create a detailed report outlining findings and moisture levels.
- Use appropriate equipment, such as pumps and vacuums, for swift and efficient water extraction from the affected areas.
- Implement drying techniques by using dehumidifiers, fans, and heaters to promote airflow and reduce humidity post-extraction.
- Conduct regular maintenance and inspections to prevent future water damage and ensure proper drainage away from the foundation.
What Causes Water Damage and Why It Matters?
Water damage can stem from various sources, and understanding these causes is vital for effective prevention and mitigation. Flood sources, such as heavy rainfall or burst pipes, can lead to significant issues.
If you don’t address these promptly, you might face increased repair costs and a lengthy restoration timeline. Furthermore, water damage can diminish your property value and create long-term effects, including mold growth and structural damage.
When filing insurance claims, knowing the cause is critical for coverage. Additionally, consider health risks associated with contaminated water.
Familiarizing yourself with effective cleanup methods can expedite recovery and ensure your space returns to a safe, livable condition. Prioritizing these factors can help you protect your home and well-being.
Initial Safety Measures Before Water Removal
Before starting the water removal process, ensuring safety is paramount. First, you’ll want to assess the area for potential electrical hazards. Unplug any appliances and turn off the main power supply to prevent shocks.
Next, follow established safety protocols, such as wearing protective gear, including gloves and boots, to shield yourself from contaminants. If the water is contaminated or if you suspect it’s flooding from a sewage backup, avoid direct contact.
Make sure to ventilate the space properly to reduce the risk of mold growth and maintain air quality.
Finally, check for structural damage before entering the area; stability is key. By prioritizing these safety measures, you create a secure environment for effective water removal.
Step-by-Step Water Extraction Process
To effectively tackle water extraction, start with a thorough initial assessment of the affected area.
You’ll need to identify the source of the water and evaluate the extent of the damage before moving on.
Once you’ve done that, select and utilize the appropriate equipment to ensure swift and efficient removal.
Initial Assessment Procedures
Start with an initial inspection of the area to identify the source of water and assess the extent of damage.
Document any visible damage and take photos for insurance purposes—this helps in future evaluations.
Evaluate the affected materials and structures. Determine what can be salvaged and what needs replacing, ensuring safety is a priority.
Create a detailed report outlining your findings, including moisture levels and potential health risks like mold.
Equipment Utilization Techniques
Begin the extraction process by gathering the right equipment, essential for effective water removal. You’ll need submersible pumps for efficient pump operation, capable of handling large volumes of water. Position the pump at the lowest point, ensuring ideal drainage.
Next, employ suction techniques using wet/dry vacuums for residual moisture—this’ll help prevent mold growth. As you operate the pump, monitor water levels closely, adjusting as needed to maintain efficiency. Don’t forget to use hoses that fit securely to minimize spillage.
After extraction, inspect the area thoroughly, ensuring all water is removed. This methodical approach protects your property while fostering a sense of community as you share your expertise in emergency water removal.
How to Dry Out Your Property After Water Removal
After water removal, it’s essential to act swiftly to dry out your property and prevent further damage. Effective moisture control is vital at this stage.
Here are four key drying techniques you should follow:
Ventilation: Open windows and doors to promote airflow and reduce humidity.
Dehumidifiers: Utilize dehumidifiers to extract moisture from the air and surfaces.
Fans: Position fans strategically to accelerate the drying process, especially in corners and enclosed spaces.
Heat Sources: Use portable heaters to maintain warmth, which helps speed up evaporation.
How to Prevent Mold After Water Damage
To prevent mold from taking hold after water damage, it’s essential to act quickly and effectively.
First, confirm the affected area is thoroughly dried within 24-48 hours. Use fans, dehumidifiers, and open windows to enhance airflow.
Implement mold prevention strategies, like treating surfaces with antifungal solutions and sealing any leaks to stop moisture intrusion.
Regularly check your indoor air quality; maintain low humidity levels (ideally between 30-60%) to discourage mold growth.
Remember to inspect hidden spots, such as behind walls and under carpets, where moisture may linger.
Finally, keep your home well-ventilated and clean to foster a healthy environment.
Taking these steps will help you safeguard your space and cultivate a mold-free atmosphere.
Essential Tools for Emergency Water Removal
When facing water damage, having the right tools at your disposal can make all the difference in effectively removing water and minimizing further issues. Here’s a list of essential tools you’ll need:
Water Pumps: Quickly remove large volumes of water from affected areas.
Extraction Vacuums: Ideal for sucking up residual water from carpets and floors.
Dehumidifiers and Drying Fans: Essential for reducing humidity and promoting rapid drying.
Safety Gear: Protect yourself with gloves, masks, and waterproof boots to ensure your safety during the process.
Additional items like moisture meters, squeegees, waterproof tarps, absorbent materials, and restoration kits can further enhance your efforts.
Equip yourself with these tools, and you’ll be ready to tackle any water damage situation effectively.
When to Call Professionals for Water Damage Issues?
How can you determine if it’s time to call in the experts for water damage issues? First, look for clear water damage signs like discoloration on walls, mold growth, or musty odors.
If you notice any of these, don’t hesitate. Immediate emergency response is essential to prevent further damage and health risks.
If the water intrusion is extensive, or if it’s affecting electrical systems, you definitely need professionals. They’re equipped to handle complex situations that you mightn’t be prepared for.
Additionally, if you’re unsure about the source of the water or how to mitigate the damage, it’s best to rely on experts. Trust your instincts; when in doubt, it’s better to ask for help than to risk worsening the situation.
Tips for Preventing Future Water Damage
To effectively prevent future water damage, you need to implement a regular maintenance schedule for your plumbing and roofing systems.
Additionally, consider proper drainage solutions around your property to direct water away from your foundation.
Utilizing waterproofing techniques can also greatly reduce the risk of moisture intrusion.
Regular Maintenance Schedule
Establishing a regular maintenance schedule is essential for safeguarding your property against future water damage.
By incorporating preventive inspections and routine checks into your routine, you can catch potential issues before they escalate.
Here are four key steps to follow:
Inspect roofing and gutters: Regularly check for debris and damage that can lead to leaks.
Test plumbing systems: Monthly checks can help you identify leaks or weak spots early on.
Examine your foundation: Look for cracks or signs of settling that could lead to water intrusion.
Maintain appliances: Regularly inspect washing machines, dishwashers, and HVAC systems for leaks.
Proper Drainage Solutions
While you may not think about drainage solutions often, implementing effective systems can greatly reduce the risk of future water damage.
Start by evaluating your property’s landscape; verify it slopes away from your foundation to direct water flow. Invest in quality drainage systems, like French drains or surface drains, to manage excess rainwater.
Regularly clear gutters and downspouts to prevent blockages that can lead to overflow. Consider installing a sump pump in areas prone to flooding for added flood prevention.
Waterproofing Techniques Utilization
Implementing effective waterproofing techniques is crucial for safeguarding your property against future water damage. By taking proactive measures, you can create a resilient barrier against moisture.
Here are four key techniques to contemplate:
Install Waterproof Membranes: Use these barriers in basements and crawl spaces to prevent water infiltration.
Enhance Drainage Systems: Ensure your gutters and downspouts direct water away from your foundation.
Seal Cracks and Joints: Regularly inspect and seal any gaps in walls or floors to keep water at bay.
Landscape Strategically: Grade your yard to slope away from your home, reducing the risk of pooling water.
Frequently Asked Questions
How Long Does Water Removal Typically Take?
Water removal typically takes 24 to 48 hours, depending on the severity of the situation. The drying process might extend beyond that, ensuring your space is completely dry and safe for you and your family.
Can I Use Regular Household Fans for Drying?
Yes, you can use regular household fans for drying, but their efficiency may be limited. For ideal results, combine them with other drying techniques, like dehumidifiers, to enhance airflow and speed up moisture removal.
What Should I Do With My Furniture?
Forty percent of water-damaged furniture can be restored if addressed quickly. Move your furniture to a dry area, inspect for damage, and explore restoration options to protect your cherished pieces during this critical time.
Is Flood Insurance Necessary for Homeowners?
Yes, flood insurance is necessary for homeowners. It protects your property from water damage, ensuring you’re financially secure. Understanding your homeowner responsibilities means being proactive about safeguarding your home against unforeseen flooding risks.
How Can I Verify if My Property Is Fully Dry?
To verify your property’s fully dry status, use moisture detection tools and apply effective drying techniques. Check hidden areas like walls and floors, ensuring you eliminate any dampness, which could lead to mold growth.
Conclusion
In the wake of water damage, acting swiftly is like dousing a flame before it spreads. By following these steps, you can rescue your property from chaos and restore it to its former glory. Remember, each moment counts; the sooner you address the situation, the better your chances of avoiding mold and further issues. Equip yourself with the right tools and knowledge, and you’ll be ready to face the storm, turning potential disaster into a manageable challenge.