
Addressing mold damage effectively requires understanding the signs and employing the right techniques. From evaluating the extent of the damage to choosing between DIY methods or professional help, knowing how to act can make all the difference. Let’s explore the essential steps and strategies that will keep your home safe and mold-free.
Key Takeaways
Identify and assess mold-affected areas, using cleaning solutions like bleach or vinegar for minor issues and replacing damaged materials for extensive cases.
Monitor humidity levels and implement moisture control measures to prevent future mold outbreaks, ensuring proper ventilation in damp areas.
Wear protective gear and use eco-friendly cleaning solutions while following safety guidelines during the mold removal process.
Regularly inspect for signs of water damage and use mold-resistant materials in construction and repairs to minimize mold growth risk.
Understand repair costs by evaluating infestation extent, mold type, and related water damage, while reviewing insurance coverage for possible claims.
Basics of Mold Damage Repair
When facing mold damage, understanding the basics of repair is essential. You’ll encounter various mold types, including black mold and white mold, each requiring specific approaches.
First, identify the affected areas and assess the extent of the damage. For minor issues, you can use cleaning solutions with bleach or vinegar to eliminate mold.
However, if the damage is extensive, consider replacing materials like drywall or insulation. Ensure proper ventilation to prevent future outbreaks.
Utilize repair methods such as sealing cracks and using mold-resistant products to safeguard your home.
Remember, your health and safety come first, so don’t hesitate to call professionals if necessary.
Taking these steps helps restore your space and fosters a sense of community in tackling mold issues together.
Signs of Mold Growth Every Homeowner Should Know
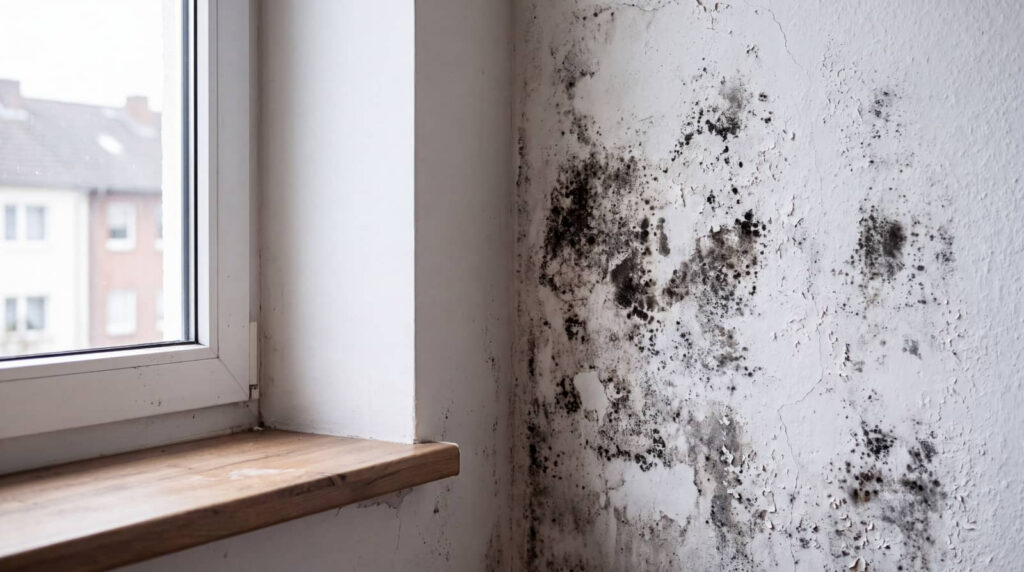
Identifying mold growth early can save you significant time and money. Look for visible signs like discoloration on walls or ceilings, which may indicate various mold types.
Pay attention to musty odors, a common detection method for hidden infestations. Monitor air quality; elevated humidity can lead to health effects like respiratory issues.
Implement moisture control through regular home inspections to catch leaks or damp areas. If you notice mold, act quickly; effective remediation techniques can prevent further spread.
Employ prevention strategies such as proper ventilation and dehumidifiers. By staying vigilant, you can protect your home and loved ones from the dangers of mold growth.
Essential Safety Precautions for DIY Mold Removal
When tackling DIY mold removal, it’s essential to prioritize your safety.
You should wear protective gear, ensure proper ventilation, and use safe chemicals to minimize health risks.
Following these precautions will help you effectively manage mold without compromising your well-being.
Wear Protective Gear
Before tackling any mold removal project, don your protective gear to safeguard your health. Mold exposure symptoms can range from mild irritation to severe respiratory issues, so it’s vital to minimize risk.
Start with a high-quality respirator to filter out airborne spores. Wear gloves to protect your skin from irritants and a long-sleeved shirt and pants to shield against contact. Safety goggles are essential to prevent mold particles from getting into your eyes.
If you’re working in a heavily infested area, consider using a full-body suit for extra protection. By equipping yourself with the right protective gear types, you ensure your safety and create a healthier environment for yourself and your family during the mold remediation process.
Ensure Proper Ventilation
Once you’re protected with the right gear, ensuring proper ventilation in the affected area becomes essential.
Good air circulation helps prevent mold spores from spreading and supports a safer environment. Here are key steps to enhance ventilation:
- Open windows to allow fresh air in.
- Use fans to boost air circulation.
- Activate ventilation systems to filter and expel contaminated air.
- Set up dehumidifiers to reduce moisture levels.
- Seal off the affected area to contain spores.
Use Safe Chemicals
Using safe chemicals is essential for effective DIY mold removal while ensuring your health and safety.
Opt for eco-friendly solutions that minimize environmental impact and reduce health risks. Many commercial products contain harsh chemicals, but there are effective chemical alternatives available.
Vinegar, baking soda, and hydrogen peroxide can tackle mold effectively without exposing you to toxic fumes.
When using any cleaning solution, always wear gloves and a mask to protect yourself. Make sure to read labels carefully and follow instructions for safe use.
By prioritizing safe chemicals, you contribute to a healthier home environment while belonging to a community that values sustainability and well-being.
Choose wisely, and you’ll make a significant difference in your mold removal efforts.
Tools You’ll Need for Effective Mold Repair
When tackling mold repair, having the right tools is vital for success.
You’ll need essential safety gear to protect yourself, along with specific cleaning supplies to effectively eliminate mold.
Additionally, understanding the repair tools required will streamline the process and ensure thorough remediation.
Essential Safety Gear
Before tackling mold damage, it’s essential to equip yourself with the right safety gear to protect against harmful spores and chemicals.
Understanding different mold spore types can help you choose the appropriate protective clothing essentials. Here’s what you need:
- N95 respirator: Filters out airborne mold spores.
- Goggles: Prevents spore exposure to your eyes.
- Protective coveralls: Keeps your skin safe from irritants.
- Gloves: Offers hand protection while handling contaminated materials.
- Boots: Ensures your feet are shielded from mold-infested areas.
Cleaning Supplies Needed
Equipping yourself with the right cleaning supplies is essential for effective mold repair, as the right tools can make the process more efficient and thorough.
Start with a high-quality mold cleaner, which can include eco-friendly solutions like vinegar or baking soda, offering safe mold cleaning alternatives. You’ll also need scrub brushes and sponges for scrubbing affected surfaces and microfiber cloths for wiping down areas post-cleaning.
A spray bottle is handy for applying solutions evenly. Don’t forget gloves and a mask to protect yourself during the process.
Finally, a vacuum with a HEPA filter helps capture mold spores effectively, ensuring your space remains clean. With these supplies, you’re well on your way to tackling mold issues confidently.
Repair Tools Overview
To effectively tackle mold repair, having the right tools at your disposal is essential. Using the appropriate equipment streamlines your mold repair techniques and ensures thorough results.
Here are some essential tools you’ll need:
- Protective gear (gloves, masks, goggles)
- Scrapers and brushes for removing mold
- Sprayers for applying cleaning solutions
- Dehumidifiers to control moisture levels
- Sealants for preventing future growth
Equipping yourself with these essential tools not only enhances your efficiency but also promotes safety during the repair process.
Step-By-Step Guide to Removing Mold From Surfaces
Removing mold from surfaces requires a systematic approach to ensure effective remediation and prevent future growth.
Start by identifying affected areas using mold testing methods to determine the extent of the problem. Confirm you wear protective gear, including gloves and a mask.
Next, prepare a cleaning solution using either commercial mold removers or a mixture of water and vinegar. Apply the solution to the affected surfaces and scrub thoroughly.
After cleaning, dry the area completely to inhibit mold regrowth.
Implement mold prevention strategies, such as improving ventilation and controlling humidity levels, to protect your home from future infestations.
Regular inspections can also help catch early signs of mold, confirming a healthier living environment for you and your family.
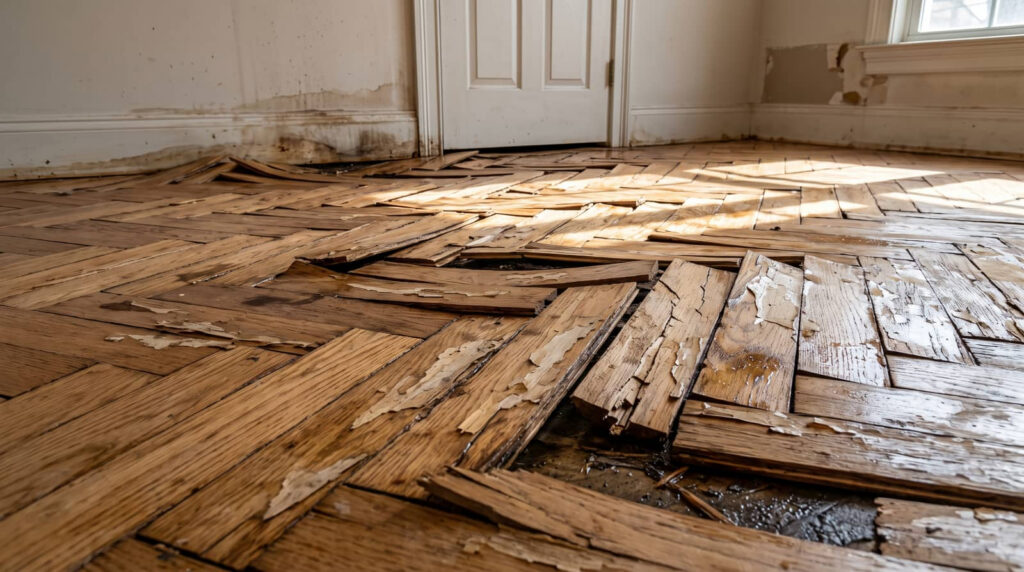
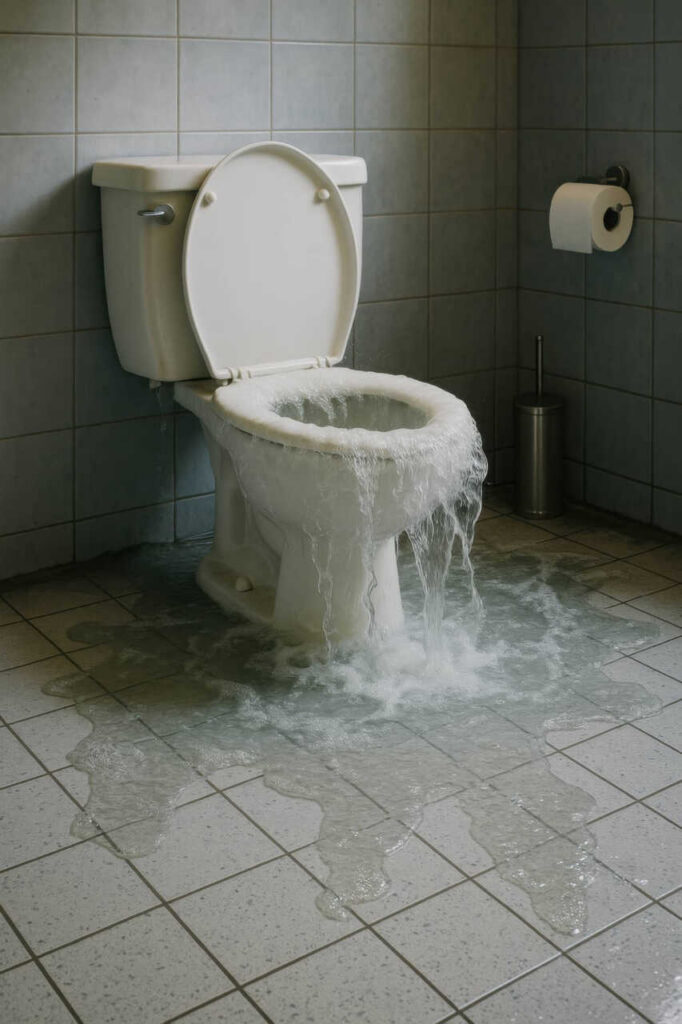
How to Repair Water Damage Causing Mold Growth
Addressing water damage that leads to mold growth is essential for maintaining a safe and healthy environment. Start by identifying the water sources contributing to the issue. Implement effective moisture control strategies to mitigate further damage.
Consider the following steps:
- Inspect areas prone to moisture and mold types.
- Document damage for insurance claims and create a repair timeline.
- Use appropriate cleaning methods to remove mold and prevent recurrence.
- Ensure proper ventilation and reduce humidity levels.
- Regularly check for leaks and water intrusion.
Ignoring these steps can lead to serious health effects, so prioritize immediate action.
Implementing these prevention strategies will help maintain your home’s integrity and your well-being.
When to DIY vs. Hire Professionals for Mold Repair
When tackling mold repair, you need to assess the severity of the infestation first.
If it’s extensive or in hard-to-reach areas, your skillset and tools may fall short. Knowing when to step back and call in professionals can save you time and ensure a thorough remediation.
Assessing Mold Severity
Evaluating mold severity is essential for effective remediation, as it determines whether you can handle the situation yourself or if you need to call in professionals.
Use these mold assessment techniques to gauge the severity:
Visible Mold Growth: Check for large patches or extensive spread.
Musty Odor: Noticeable smells can indicate deeper infestations.
Water Damage: Look for signs of leaks or moisture issues.
Affected Materials: Assess whether drywall or insulation is compromised.
Health Symptoms: Be aware of respiratory issues or allergic reactions.
Recognizing these mold severity indicators helps you make an informed decision.
If the mold covers more than 10 square feet or if you have health concerns, it’s best to hire professionals for safe and thorough remediation.
Skillset and Tools Needed
Determining whether to tackle mold repair yourself or hire professionals hinges on your skillset and the right tools at your disposal.
If you’re comfortable using mold identification techniques and have experience with moisture control methods, DIY might be feasible for smaller infestations. You’ll need safety gear, a moisture meter, and proper cleaning solutions to ensure effective remediation.
However, for extensive mold damage or if you lack confidence, hiring professionals is advisable. They possess specialized training, advanced tools, and expertise in safely managing mold, minimizing health risks.
Ultimately, assess your abilities and the severity of the problem to make an informed decision. Remember, maintaining a mold-free environment is crucial for your home and well-being.
Preventing Future Mold Growth
To effectively prevent future mold growth, it’s essential to control moisture levels in your environment.
Implementing mold prevention strategies will help create a healthier home. Here are key actions you can take:
Use dehumidifiers in damp areas to maintain ideal humidity control.
Seal leaks in roofs, windows, and pipes to eliminate moisture entry points.
Ventilate bathrooms and kitchens to disperse steam and humidity.
Clean gutters regularly to prevent water accumulation.
Choose mold-resistant materials for construction and repairs.
How to Detect Hidden Mold in Your Home?
How can you uncover hidden mold in your home? Start by employing effective mold inspection techniques.
Look for signs of water damage, such as discoloration or peeling paint, particularly in areas prone to moisture. Use moisture detection methods like a hygrometer to measure humidity levels, as elevated humidity can indicate potential mold growth.
Don’t forget to check hidden spaces like behind walls, under sinks, and in attics or basements. If you suspect mold but can’t see it, consider using infrared cameras, which can reveal temperature differences indicating moisture presence.
Regularly inspecting these areas ensures you’re proactive about mold prevention, creating a healthier environment for you and your family. Taking these steps helps you feel secure in your home’s safety.
Understanding the Costs of Mold Damage Repair
Uncovering hidden mold in your home is just the first step; understanding the costs associated with mold damage repair is equally important.
Mold remediation costs can vary considerably based on several factors, and knowing these can help you plan effectively. Here’s what to take into account:
- Extent of the infestation: Larger areas require more resources.
- Type of mold: Some species need specialized treatment.
- Location: Accessibility can impact labor costs.
- Water damage: Related repairs can add to the overall expense.
- Insurance coverage: Check your policy to see what’s included.
Being informed about these elements can help you make better decisions and potentially mitigate costs, ensuring your home remains a safe haven.
Frequently Asked Questions
Can Mold Return After Successful Removal?
Yes, mold can return after removal if conditions are right. To prevent this, you need to control humidity, improve ventilation, and address any leaks. Following mold prevention tips is essential for maintaining a safe environment.
How Long Does Mold Removal Take?
Mold removal typically takes one to five days. Your mold removal timeline depends on factors influencing duration, like the extent of contamination, moisture levels, and the methods used. Proper assessment ensures effective, timely remediation.
What Are the Health Risks of Mold Exposure?
Mold exposure can cause respiratory issues, skin irritation, and allergies. You should recognize mold symptoms early and implement prevention strategies, like controlling humidity and ensuring proper ventilation, to safeguard your health and environment.
Is Mold Damage Covered by Homeowners Insurance?
Mold damage might be covered by your homeowners insurance, but it often depends on your specific policy. Regularly review coverage and follow mold prevention tips to minimize risks and ensure you’re protected.
How Can I Test for Mold in My Home?
You can test for mold using DIY mold tests, like air sampling or surface swabs. These mold testing methods reveal hidden spores, helping you take action and reclaim your space from potential hazards.
Conclusion
Just like a vigilant gardener tending to their plants, you need to nurture your home by addressing mold issues promptly. With the right tools, knowledge, and precautions, you can uproot this unwelcome intruder and cultivate a healthier living space. Remember, regular inspections are your watering can—essential for preventing future growth. By staying proactive, you’ll safeguard your home and ensure it flourishes in a mold-free environment, just as a garden thrives under attentive care.