After a sewage spill, you usually don’t see the highest-risk contamination in the visible water. You need to treat every wet surface, hidden cavity, and porous material as suspect, then isolate the area, remove damaged contents, and start controlled drying before you sanitize. If you skip any step, pathogens and mold can spread fast, and the next move is where most people get it wrong.
Key Takeaways
- Sewage spills in flooded spaces require immediate isolation, PPE, and professional cleanup to reduce health risks and contamination spread.
- Trained technicians extract wastewater, remove damaged materials, and disinfect affected surfaces with EPA-registered products.
- Fast drying with fans and dehumidifiers helps prevent mold growth and further structural damage.
- Call professionals when sewage affects living areas, porous materials, or when odors, sludge, or fumes are present.
- Prevent future backups by maintaining drains, sump pumps, backwater valves, and sealing basement cracks.
What To Do After a Basement Sewage Spill
After a basement sewage spill, shut off access to the area immediately and avoid contact with contaminated water or surfaces.
You should wear gloves, boots, and eye protection before you inspect anything. Turn off electricity to the basement if water could reach outlets or appliances.
Ventilate the space by opening windows and running fans only if the area is safe. Document the damage for your records, then call trained sewage cleanup services.
Follow their safety precautions, including vaccination guidance and protective gear instructions. Don’t use household vacuums or mops on contaminated material.
Use approved cleanup techniques for sewage, such as removal of porous materials, disinfection, and controlled drying.
Stay with your household team, keep everyone informed, and work together until the area’s safe.
Why Fast Sewage Cleanup Matters
You need to clean up sewage fast because health risks rise quickly once bacteria, viruses, and gases spread through the area.
Water carries contamination into flooring, walls, and adjacent rooms, so delay makes the affected zone larger and harder to isolate.
If you act slowly, you’ll also drive up restoration costs by increasing demolition, drying time, and material replacement.
Health Risks Increase Quickly
When sewage sits, pathogens multiply and spread into nearby surfaces, air, and porous materials within hours. You face rising health hazards fast, so you need to act as a team and isolate the area immediately.
Check contamination levels with PPE, then remove wet materials, sanitize hard surfaces, and control odors before they intensify. If you wait, bacteria and viruses can irritate skin, eyes, and lungs, and they can trigger infections in anyone exposed.
You also increase cleanup scope, which makes your space harder to restore and your crew more vulnerable. Fast response keeps your household or workplace safer, limits exposure time, and supports a cleaner return.
When you move quickly, you protect each other and reduce avoidable risk.
Contamination Spreads Through Water
Water carries sewage contamination fast, spreading pathogens, dissolved waste, and debris into flooring, drains, walls, and adjacent rooms. You need to isolate the area immediately, because contamination sources can move with every step, splash, and drain backup.
Treat all standing water as contaminated, and assume waterborne pathogens are present on contact surfaces, porous materials, and hidden voids. You should shut off affected HVAC, wear proper PPE, and remove wet contents in a controlled sequence.
Then you can document spread paths, inspect baseboards and subfloors, and clean from the cleanest zone outward. This approach helps your crew stay coordinated, protect shared spaces, and limit cross-contamination.
Fast action keeps the cleanup process organized and gives everyone a safer, clearer path to restoration.
Delays Raise Restoration Costs
Even a short delay can drive up sewage restoration costs because contamination keeps spreading, materials keep absorbing moisture, and damage becomes harder to reverse.
You also risk cost escalation as bacteria, odors, and hidden seepage spread into subfloors, wall cavities, and furnishings.
When you wait, inspectors need more time, demolition expands, and drying equipment runs longer. That creates project delays and adds labor, disposal, and replacement costs.
Act fast: isolate the area, shut off affected systems, remove saturated contents, and start extraction and disinfection right away.
You’ll protect the structure, shorten the schedule, and keep your crew aligned on a safer recovery plan.
Faster cleanup helps you regain control, reduce losses, and stay with the team moving toward full restoration.
How Sewage Cleanup Services Work
You start with an initial damage assessment to identify contamination levels, affected materials, and safety hazards.
Then you remove sewage, extract wastewater, and isolate contaminated areas to prevent spread.
After that, you sanitize all exposed surfaces and restore the space to safe, usable conditions.
Initial Damage Assessment
Before cleanup begins, technicians perform an initial damage assessment to map the spill’s extent, identify affected materials, and classify the contamination level.
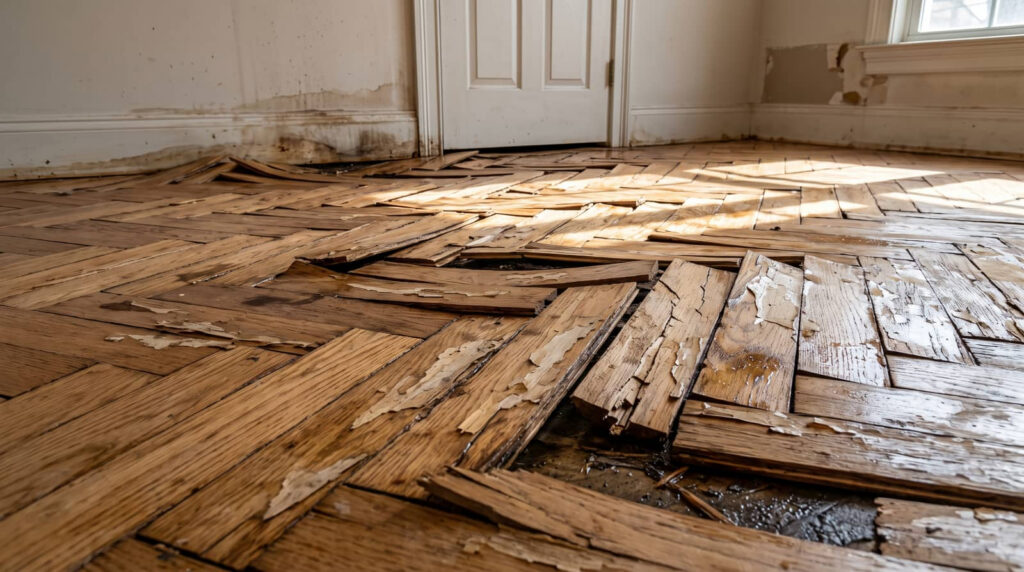
You’ll see them document damage indicators such as staining, odor, saturation lines, warped flooring, and visible residue. They then use assessment tools, including moisture meters, infrared cameras, and surface probes, to verify how far sewage has spread.
You stay informed as they check walls, subfloors, insulation, and contents for exposure. This step lets the team separate salvageable areas from those that need removal.
It also creates a shared plan, so your space gets handled with precision and your crew knows what comes next. By confirming the scope early, they reduce guesswork and keep the process organized.
Sanitization And Restoration
Once technicians finish the assessment, they move into sanitization by removing sewage residue, cleaning all affected surfaces, and applying EPA-registered disinfectants to eliminate bacteria, viruses, and odors.
You’ll see them isolate the work zone, remove porous materials that can’t be salvaged, and handle hazardous materials under strict emergency protocols.
They scrub, rinse, and treat floors, walls, fixtures, and contents with measured contact times so the disinfectant works fully.
After that, they deploy air scrubbers and dehumidifiers to reduce moisture and airborne contamination.
Then they verify dryness, inspect for hidden damage, and restore the area with approved repairs and replacements.
This step helps your space meet safety standards again, so you can reenter with confidence and feel supported through a controlled recovery process.
Dry Out the Basement Safely
After sewage extraction, dry the basement with controlled airflow and dehumidification to prevent mold growth and structural damage.
You should set industrial fans to push air across wet surfaces and keep vents clear for steady air circulation. Run a dehumidifier sized for the space and empty it routinely so moisture control stays consistent.
Monitor relative humidity, aiming below 60%, and check hidden corners, sill plates, and floor seams with a moisture meter.
Keep doors closed to isolate the area and avoid pulling damp air from other rooms. If temperatures drop, add gentle heat to improve evaporation without warping materials.
Stay on schedule, document readings, and adjust equipment until all structural surfaces read dry and the basement feels safe again.
Remove Sewage and Contaminated Items
Start by removing all sewage-soaked materials and any item that can’t be fully cleaned and disinfected. You’ll sort affected contents into two groups: salvageable items and hazardous waste.
Use gloves, boots, and sealed bags or bins for sewage removal, and keep traffic through the area limited. Pull out carpets, padding, drywall, insulation, paper products, and porous furnishings that absorbed contamination.
Handle sharp debris carefully and place broken materials in rigid containers. If an item held food, medicine, or personal care products, discard it.
Keep removed waste separated from clean belongings so you don’t spread contamination. Load everything directly into disposal bags, seal them, and move them out promptly.
This process helps your crew stay organized, reduces cross-contact, and keeps everyone aligned on a safe, efficient cleanup.
Sanitize Surfaces After Exposure
With contaminated materials removed, you can sanitize every exposed surface to stop remaining pathogens from spreading. Wear gloves, eye protection, and a respirator, then prepare sanitizing agents exactly as labeled.
Apply surface treatments to walls, floors, fixtures, and baseboards, keeping contact time consistent. You’re part of a safer cleanup when you follow the same sequence every time:
- Pre-clean visible residue with detergent and water.
- Spray or wipe approved sanitizing agents evenly.
- Let the product dwell for the full required interval.
- Rinse or dry surfaces if the label requires it.
Check corners, seams, and behind equipment for missed spots. Replace cloths often, and never mix chemicals.
When you sanitize methodically, you reduce risk and help your space feel ready again.
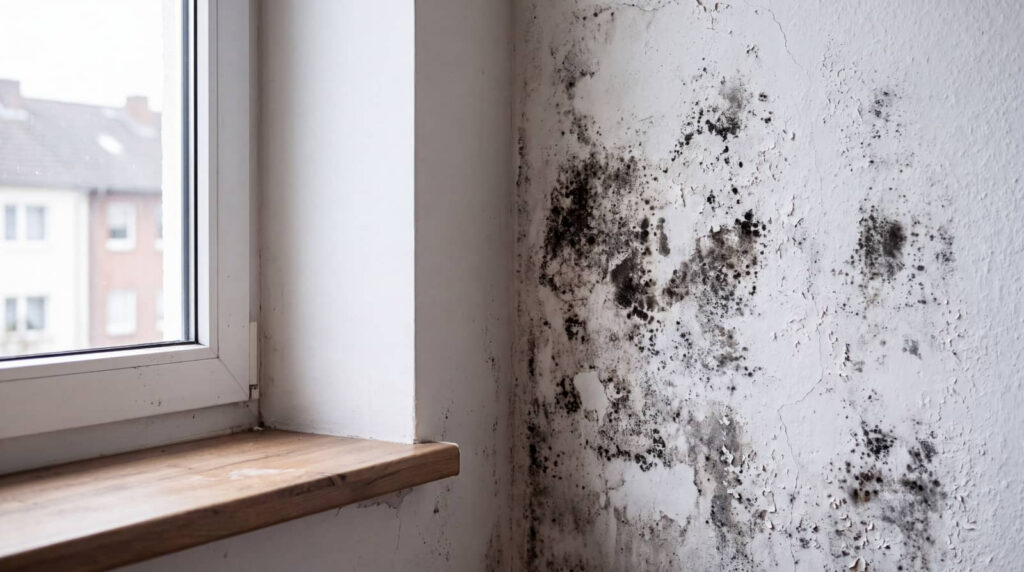
Prevent Mold After Basement Flooding
Once standing water is removed, dry the basement fast to prevent mold growth on wet framing, drywall, and stored items.
You’ll support mold prevention by opening windows if weather allows, running fans across damp surfaces, and using a dehumidifier to pull moisture from the air.
Remove soaked rugs, cardboard, and insulation right away. Lift furniture off the floor so air circulation reaches hidden areas.
Check wall cavities, baseboards, and corners each day for lingering dampness. Keep indoor humidity below 60% and replace wet filters as needed.
If you share the space with family or neighbors, coordinate drying tasks so everyone stays on the same page.
Finish only when materials feel dry, odors fade, and no condensation remains on cool surfaces.
When To Call Sewage Cleanup Pros
Call sewage cleanup pros when wastewater has backed up into living areas, touched porous materials, or stayed in place long enough to soak walls, floors, or insulation. You’re in the right place to act fast.
If you notice sewage odor, visible sludge, or dark staining, don’t wait. Choose professionals when:
- water reaches HVAC, outlets, or crawlspaces
- porous items need removal
- health symptoms appear after exposure
- cleanup exceeds your tools or PPE
They’ll isolate the area, extract waste, disinfect surfaces, and document damage.
You should leave immediately if fumes make you cough, feel nauseous, or dizzy. Quick response lowers contamination and helps your space feel safe again.
Trust the crew when conditions look risky; you don’t have to manage this alone.
Prevent Future Basement Sewage Backups
To prevent future basement sewage backups, inspect and maintain the parts of your plumbing and drainage system that move wastewater away from the home.
You should schedule routine drain cleaning, test backwater valves, and keep floor drains clear of debris.
Check drainage systems after heavy rain, because blockages can push wastewater back inside.
Make sure sump pumps run during storms, the pit stays free of sediment, and the discharge line drains outdoors without freezing.
Seal cracks in basement walls and around pipe penetrations to limit seepage.
Never flush wipes, grease, or other solids.
If you live in a shared community, coordinate with neighbors and property staff so everyone protects the system.
With consistent care, you’ll reduce risk and keep your basement safer.
Conclusion
You should act fast after a basement sewage spill to limit contamination and structural damage. Dry the space, remove contaminated materials, and sanitize all exposed surfaces with approved methods. Then monitor for hidden moisture and mold growth so you can stop secondary problems before they spread. Professional sewage cleanup services work like a floodgate, containing hazards before they overwhelm your home. With prompt, careful action, you’ll restore safety and reduce the risk of another costly backup.