
Imagine water rushing through your living room, soaking everything in its path. It’s a terrifying scene, but knowing how to respond can make all the difference. You’ll want effective strategies for flood cleanup and repair that won’t break the bank. Quick action and smart choices are key. Let’s explore essential steps and practical solutions that can help you regain control of your home and protect it from future floods.
Key Takeaways
- Quick flood response and planning can significantly enhance recovery and reduce stress during cleanup efforts.
- Prioritize water extraction techniques using effective equipment like pumps and dehumidifiers for efficient cleanup.
- Compare multiple flood cleanup services and request budget estimates to find affordable options tailored to your needs.
- Regularly inspect for mold and implement preventive measures to protect your home from future growth after a flood.
- Choose water-resistant flooring materials to ensure durability and ease of cleaning after flood damage.
Understanding the Importance of Quick Flood Response
When a flood strikes, the clock starts ticking, and your quick response can make all the difference. Effective flood response hinges on rapid assessment and emergency planning. You’ll want to evaluate the damage promptly to protect your family and belongings.
Familiarize yourself with local regulations and community resources that can aid in recovery. Don’t forget about insurance claims; knowing your coverage can ease financial stress. Remember, mental health matters too; this experience can be overwhelming, so lean on your support network.
Family preparedness is essential—discuss your plan with loved ones. Finally, consider the environmental impact of your cleanup efforts; responsible practices promote a healthier community. Quick action accelerates restoration timelines while fostering resilience.
Essential Steps for Effective Water Extraction
When you’re faced with flood damage, the first step is to assess the extent of the water intrusion.
Next, gather the right equipment to tackle the job effectively.
Once you’re prepared, you can jump right into the water removal process to minimize damage and restore your space.
Assess Water Damage Extent
Before you can effectively extract water from your space, it’s essential to assess the extent of the damage. Start by conducting a thorough water damage assessment; check all affected areas, including walls, floors, and ceilings.
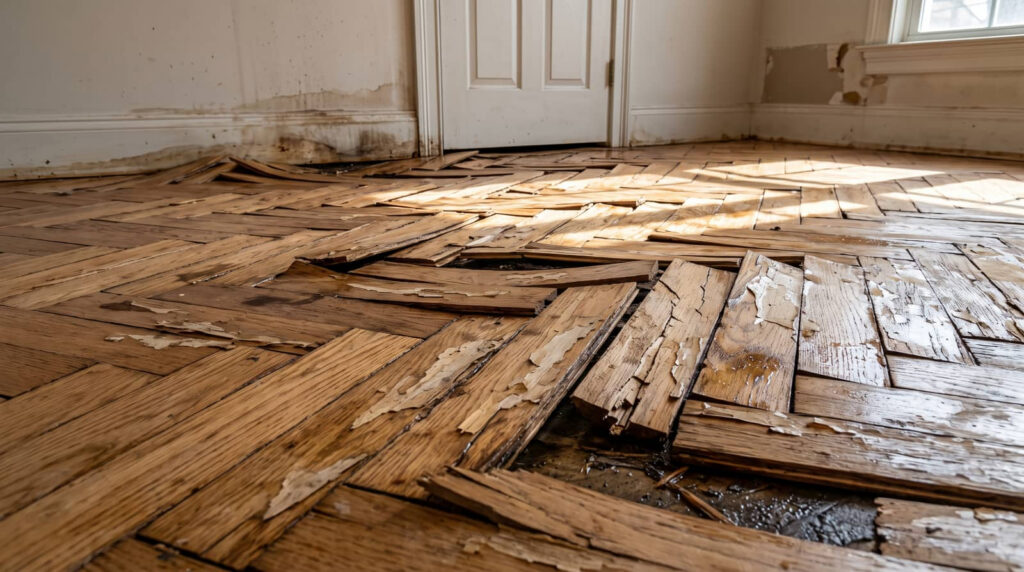
Look for signs of moisture detection, such as discoloration or warping, which can indicate deeper issues. Don’t forget to inspect hidden spaces, like under carpets and behind furniture.
Use a moisture meter if you have one—it helps pinpoint problem areas you might miss. This assessment helps you understand the severity of the situation and guides your extraction efforts.
Gather Necessary Equipment
Gathering the right equipment is essential for effective water extraction, and having at least five important tools on hand can make a significant difference.
Here’s what you need to get started:
- Extraction Pumps: These are critical for removing large volumes of water quickly.
- Dehumidifier Options: Choose models that effectively reduce moisture in the air.
- Moisture Meters: Use these to assess the extent of water damage in your home.
- Safety Gear: Equip yourself with protective clothing and sanitation supplies to stay safe while working.
Begin Water Removal Process
Start the water removal process by quickly evaluating the affected areas. Identify which rooms are most impacted and create a salvageable items checklist to prioritize what to save.
Use moisture detection tools to pinpoint hidden water pockets. For effective water extraction, choose the right pump based on the volume of water—considering pump selection tips will save time.
Implement debris removal strategies to clear out any damaged materials. Be aware of health risks associated with mold and bacteria, so you can act swiftly.
Once the area is clear, employ drying techniques to prevent further damage. Remember to keep your insurance considerations in mind throughout the process, as they can affect your restoration timeline and coverage.
Top Affordable DIY Flood Cleanup Techniques
When tackling flood cleanup, your safety should always come first.
You’ll want to use effective water removal methods that protect you and keep your home safe.
Let’s explore some top DIY techniques to get you back on track without breaking the bank.
Essential Safety Precautions
Before diving into flood cleanup, it’s essential to prioritize safety to protect yourself and your property. Here are some vital steps to take into account:
- Gather an Emergency Kit: Include essentials like water, snacks, and a flashlight to keep you prepared.
- Wear Personal Protective Clean Up Attire: Use gloves, boots, and masks to shield against contaminants and health risks.
- Check for Electrical Hazards: Confirm the power is off before entering flooded areas to avoid shocks.
- Establish Family Communication: Keep in touch with loved ones and local resources for support and updates.
Effective Water Removal Methods
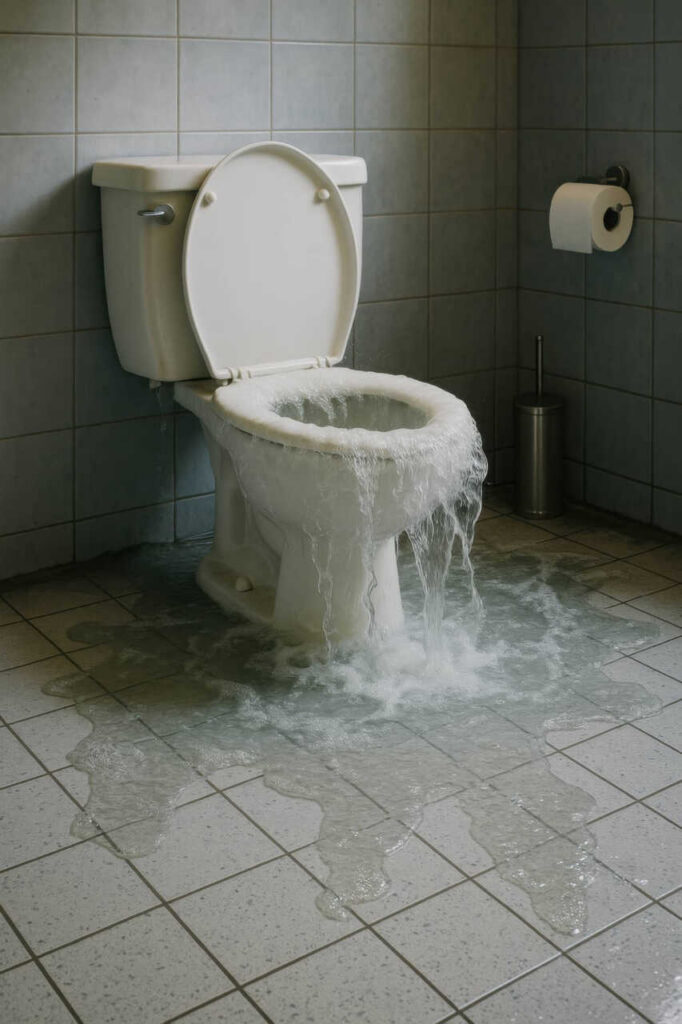
While flooding can be overwhelming, effective water removal methods can make the cleanup process manageable and affordable. Start by using simple water extraction techniques, like a wet/dry vacuum, to tackle standing water quickly. If you don’t have one, a mop and bucket can work in a pinch.
Next, invest in moisture detection tools to identify hidden damp areas that could lead to mold. These tools help you ensure that everything’s properly dried out. Fans and dehumidifiers are also your best friends in this situation.
How to Evaluate Affordable Flood Cleanup Services?
How can you ensure you’re choosing the right flood cleanup service without breaking the bank? Start by doing a thorough evaluation. Here’s a quick guide:
- Service Comparison: Look at multiple providers. Compare their offerings and identify what fits your needs.
- Cost Analysis: Assess pricing, but remember, the cheapest option isn’t always the best. Consider what’s included.
- Customer Reviews: Check online reviews to gauge past performance and customer satisfaction.
- Contractor Qualifications: Verify their credentials. You want someone certified and experienced, ensuring proper insurance coverage and service guarantees.
Tips for Repairing Water-Damaged Walls
After choosing the right flood cleanup service, addressing the aftermath, particularly water-damaged walls, is vital.
Start by evaluating the extent of the water damage; if your drywall is soaked, drywall replacement may be necessary. Ensure moisture control by drying the area thoroughly before moving on to insulation replacement.
Next, focus on wall repair—apply a sealant to prevent future issues. Once everything’s dried, consider paint restoration to enhance your home’s aesthetic improvements.
Remember, maintaining structural integrity is essential, so don’t rush through the process.
Finally, implement long-term prevention strategies to protect your walls from future flooding. Taking these steps will help you create a safe, welcoming space for you and your loved ones.
Affordable Mold Remediation Options
When it comes to tackling mold after a flood, you’ve got options that won’t break the bank.
You can try some DIY removal tips or consider budget-friendly professional services if the situation’s more serious.
Plus, being proactive with preventive measures can save you time and money down the line.
DIY Mold Removal Tips
While mold can be a challenging problem after a flood, tackling it yourself can save you money and give you peace of mind.
Here are some effective DIY mold removal tips to keep your home safe:
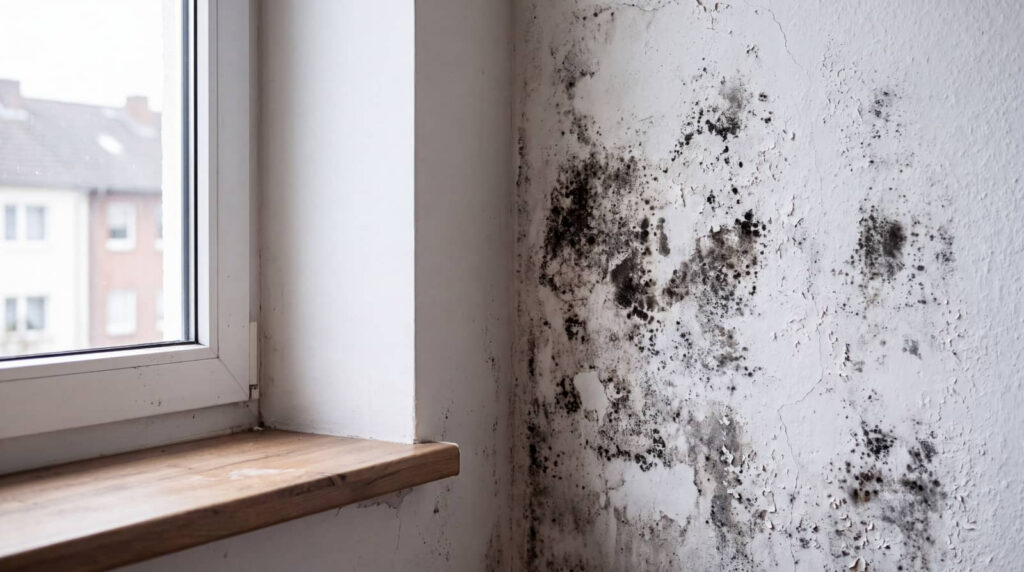
- Inspect: Regularly check for mold growth in hidden areas like basements and attics using proper inspection techniques.
- Control Moisture: Keep humidity levels low with moisture control methods like dehumidifiers.
- Clean Solutions: Use vinegar or baking soda as natural cleaning solutions for surfaces affected by mold.
- Ventilation Tips: Maintain adequate ventilation in your home to prevent mold growth and improve air quality.
Budget-Friendly Professional Services
Even with effective DIY mold removal strategies in place, some situations might require professional help to ensure thorough remediation. That’s where affordable contractors come in.
They can tackle mold issues that you mightn’t be equipped to handle alone, ensuring your home stays safe and healthy. When searching for these services, don’t hesitate to ask for budget estimates.
Many contractors offer competitive pricing, making it easier for you to find a solution that fits your financial needs. Plus, opting for a professional can save you time and give you peace of mind, knowing the job’s done right.
Preventive Measures to Consider
Four simple preventive measures can considerably reduce your risk of mold growth in your home. By being proactive, you can create a safer environment for you and your loved ones. Here’s how:
- Install flood barriers to protect your property from water intrusion.
- Utilize sump pumps and drainage systems to manage excess water effectively.
- Implement waterproofing solutions in basements and crawl spaces to prevent moisture buildup.
- Make landscaping adjustments to direct water away from your home.
Additionally, stay informed about local regulations and flood alerts.
Consider keeping emergency kits handy and explore insurance coverage options.
Engaging with community resources can also provide valuable support during challenging times.
Taking these steps now can save you a lot of hassle later!
Best Flooring Choices Post-Flood
When you’ve dealt with the aftermath of a flood, choosing the right flooring can make all the difference in restoring your space.
Opt for water-resistant options like luxury vinyl plank or tile, which mimic the look of wood or stone while standing up to moisture. These flooring materials aren’t only durable but also easy to clean, making them perfect for high-traffic areas.
Another great choice is sealed concrete, which offers a modern feel and exceptional water resistance.
If you’re leaning toward a softer touch, consider waterproof laminate that combines style with functionality.
Essential Tips for Homeowners After a Flood
After a flood, it’s essential to take immediate action to minimize damage and secure safety. Here are some important steps to follow:
- Contact Your Insurance Provider: Check your flood insurance policy and file a claim as soon as possible.
- Assess Family Safety: Verify everyone’s safe and check on neighbors; community resources can be critical in recovery.
- Document Damage: Create a home inventory of damaged items, taking photos for insurance purposes.
- Reach Out for Help: Use emergency contacts to coordinate support, and explore local regulations and financial assistance options.
Being prepared can make a significant difference.
Stay connected with your community to navigate this challenging time together. Your family’s safety is the top priority!
How to Prevent Mold After a Flood?
To prevent mold from taking hold in your home after a flood, it’s essential to act quickly.
Start with thorough surface cleaning to remove any standing water and debris. Implement moisture control by using dehumidification techniques to lower indoor humidity levels.
Ventilation strategies, like opening windows or using fans, can improve air quality and help dry out affected areas. Pay attention to building materials—replace any that are water-damaged.
After cleaning, schedule post-flood inspections to identify hidden moisture pockets. For long-term prevention, maintain a consistent indoor environment, ensuring humidity stays low.
Planning for Future Flood Resilience on a Budget
Mold prevention is just one part of a broader strategy for flood resilience.
To effectively prepare for future floods on a budget, consider these flood preparedness strategies:
- Invest in Budget-Friendly Insulation: Use materials that resist moisture to prevent damage.
- Elevate Appliances and Utilities: Raise them above potential flood levels to minimize loss.
- Create a Flood Emergency Plan: Outline steps for your family, ensuring everyone knows what to do.
- Landscaping for Drainage: Design your yard to redirect water away from your home, using native plants.
Frequently Asked Questions
What Should I Do Immediately After a Flood Occurs?
After a flood, prioritize your safety. Check for hazards, avoid flooded areas, and call emergency contacts for help. Document damage and stay informed about local resources to support your recovery and community rebuilding efforts.
How Can I Assess the Extent of Water Damage?
To assess water damage, inspect all affected areas, documenting with photos for insurance claims. Check for structural issues, mold, and affected belongings. Prioritize safety, and don’t hesitate to seek professional help when needed.
Are There Government Grants for Flood Cleanup Assistance?
Think of a lifebuoy in turbulent waters—government grants can be your saving grace. You’ve got federal assistance options and local resources available to help you navigate flood cleanup and ease your burden.
How Long Does It Typically Take to Dry Out a Flooded Area?
It typically takes 24 to 48 hours to dry out a flooded area using effective flood drying techniques and moisture detection tools. Staying proactive speeds up the process, ensuring your space feels like home again.
What Personal Protective Equipment Is Needed During Cleanup?
When tackling flood cleanup, think of it as gearing up for battle. You’ll need gloves, masks, goggles, and sturdy boots. Prioritize safety precautions with proper cleanup gear to protect yourself and ensure a successful recovery.
Review
By acting quickly and using these affordable flood cleanup solutions, you can turn an intimidating disaster into a manageable task. Picture your home transforming from chaos to comfort, with effective water extraction and mold prevention techniques guiding the way. As you choose resilient flooring and plan for future storms, you’re not just repairing—you’re reinforcing your home’s defenses. With a little effort and smart choices, you can ensure your space remains safe and welcoming for years to come.