After a flood, you need to stop the water, secure the basement, and start extraction right away. Then you remove wet materials, dry every surface, and inspect for hidden mold damage before it spreads. You’ll also need to document losses, clean and disinfect thoroughly, and verify air quality before repairs begin. The process is exacting, and each step affects the next.
Key Takeaways
- Stop the water source, secure the basement, and inspect cracks, seams, window wells, and sill plates for intrusion paths.
- Extract standing water quickly using pumps and wet vacs, then remove soaked porous materials like drywall, insulation, and carpet.
- Dry the basement thoroughly with fans and dehumidifiers, keeping humidity below 60% to prevent mold growth.
- Hire a certified mold remediation team, verify credentials, and document all damage with photos, moisture readings, and notes.
- Clean hard surfaces, test air quality if needed, and repair only after the area is fully dry and mold is controlled.
Stop the Water and Secure the Basement
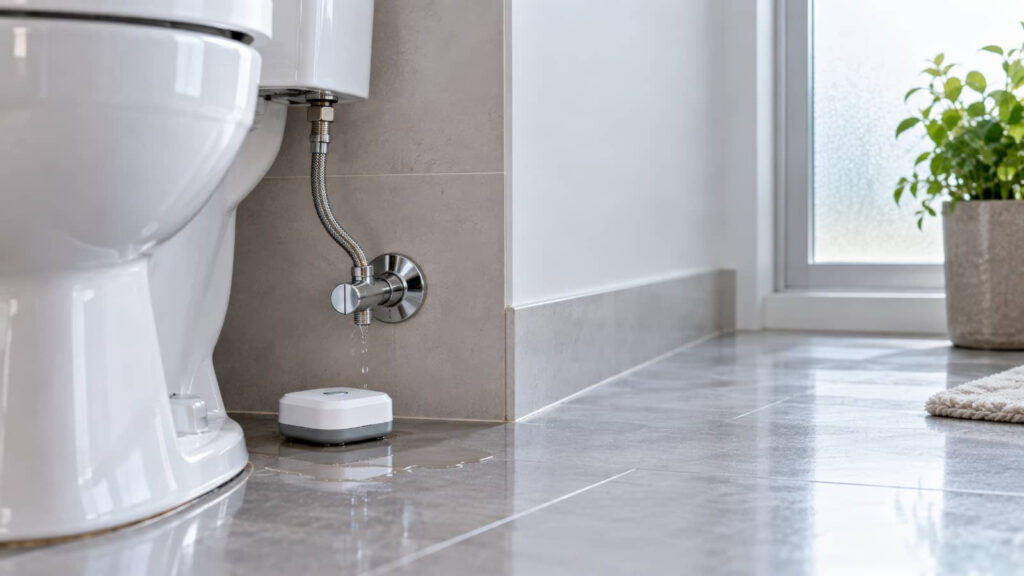
Before you begin mold cleanup, stop the water source and secure the basement so the damage doesn’t spread. Shut off the main supply, inspect visible leaks, and correct failed valves, hoses, or drains.
Then apply water diversion techniques outside: extend downspouts, grade soil away from the foundation, and clear channels that send runoff away from entry points.
Inside, use basement sealing methods to close cracks, gaps around pipes, and unsealed joints with compatible sealant or hydraulic cement. Check window wells, sill plates, and floor-wall seams for intrusion paths.
You’re protecting your space and helping your crew work as one. Document each fix, confirm dryness at the perimeter, and keep access controlled until you’re ready for the next step.
Extract Basement Water Fast
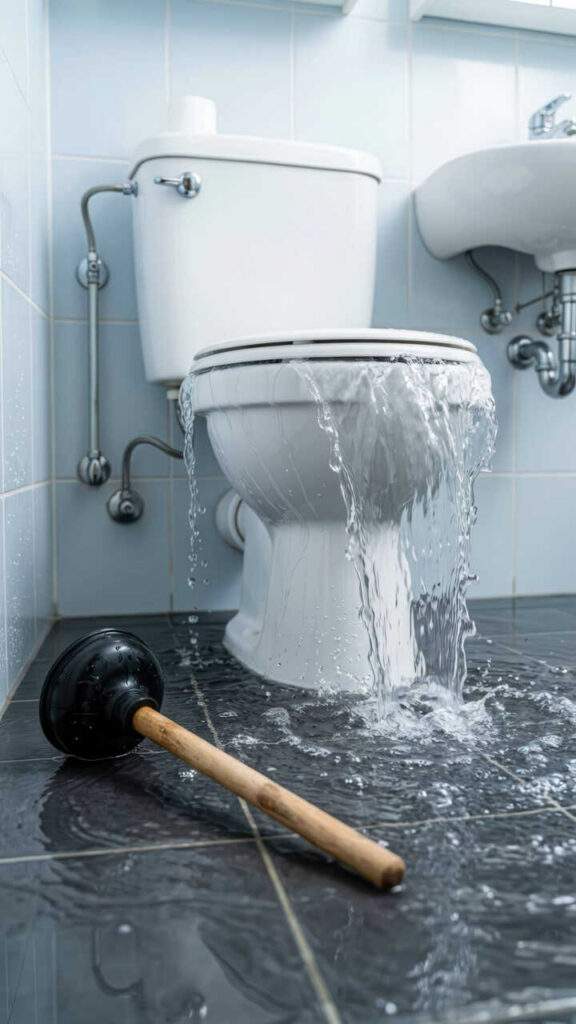
Now remove the standing water as quickly as possible to limit wicking, structural damage, and mold growth.
Use submersible pumps, wet vacs, and squeegees in a planned sequence so you can clear the deepest areas first. Keep discharge hoses routed to approved exterior drains or sump lines, and monitor flow to prevent backflow.
As you work, maintain safe electrical clearance and wear insulated boots. If your basin refills, pause and reassess basement drainage solutions, then reset the pump intake lower.
For faster progress, divide the floor into zones and track each pass. These water extraction techniques help you reclaim the space efficiently and prepare it for the next remediation steps.
You’re not just drying a room—you’re protecting your home, your team, and your community.
Remove Wet Materials and Debris
Start removing soaked drywall, insulation, carpeting, baseboards, and other porous materials that can’t be effectively dried or cleaned.
You should work methodically, cut away damaged sections past the visible waterline, and place waste directly into heavy-duty bags or lined bins.
Keep contaminated items separated from salvageable materials so your team stays organized and safe.
Use debris disposal techniques that meet local waste rules, and seal bags before moving them through the building.
As part of your mold prevention strategies, remove paper goods, fabric, and particleboard that held floodwater.
Scrape mud, silt, and loose residue from hard surfaces, then wipe the area to reduce remaining contamination.
You’re building a cleaner recovery zone, and every item you remove lowers the chance of hidden mold growth and protects the whole crew.
Dry the Basement to Prevent Mold
Once the basement is cleared of soaked materials, you should dry the space fast to stop mold from taking hold. Open windows and doors if weather allows, and run fans to move air across walls, floors, and corners.
Use dehumidifiers for steady moisture control, keeping indoor humidity below 60 percent. Aim airflow at damp surfaces, but don’t point fans at visible residue, since you’re managing drying, not dispersing debris.
If your system can handle it, run the HVAC fan to support circulation. Use ventilation techniques that exchange stale air for drier air, and keep drains clear so water doesn’t collect again.
Check sump pumps, and empty dehumidifier reservoirs often. When you work methodically, you protect your basement and join others who restore homes safely.
Check for Mold and Moisture Damage
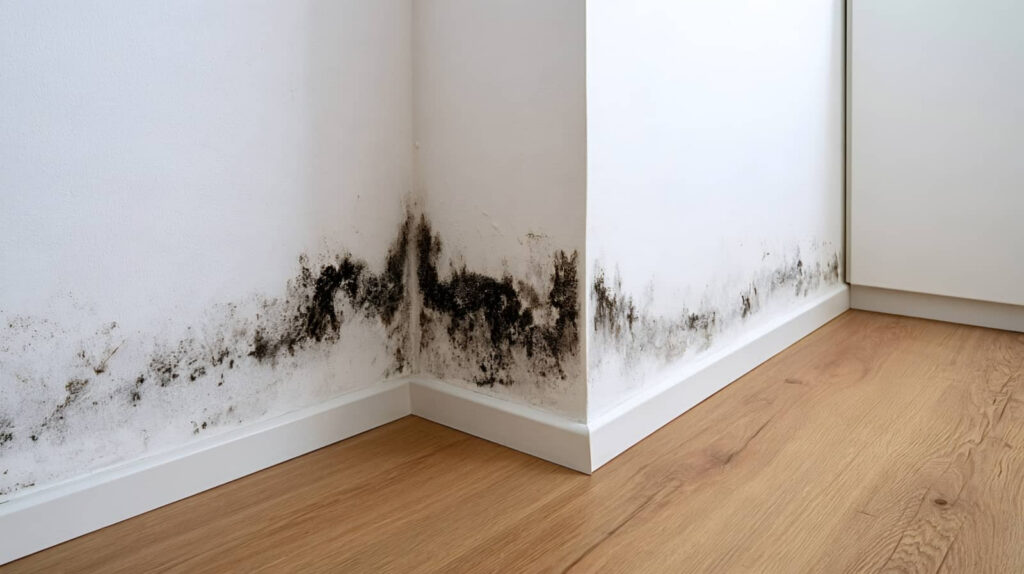
Inspect the basement for visible mold and moisture damage on walls, floors, framing, insulation, and stored items.
You should note staining, discoloration, warping, peeling paint, and soft or swollen materials.
Check behind baseboards and inside cavities where mold growth can hide after flooding.
Use a moisture meter to compare moisture levels across affected and unaffected areas; elevated readings signal ongoing wetness.
Smell for musty odors, which often indicate concealed growth.
Photograph each finding and mark locations so you can track changes during drying.
Remove only items that are clearly unsalvageable or still wet enough to spread contamination.
Call a Mold Remediation Team
You should contact a qualified mold remediation team with flood-damage experience and proper licensing, insurance, and containment equipment.
Verify their credentials, remediation protocol, and moisture-detection methods before you authorize work.
Schedule an immediate inspection so they can assess the affected areas, confirm contamination, and start mitigation without delay.
Choosing Qualified Experts
A qualified mold remediation team can stop contamination from spreading and verify that cleanup meets safe moisture-control standards.
You should confirm mold certification, insurance, and documented expert qualifications before you hire anyone. Ask for project references that show work in flood-damaged buildings, then review whether the crew uses containment, HEPA filtration, and moisture mapping.
You want specialists who explain their protocol in plain terms and can identify hidden growth behind wall cavities, flooring, and insulation.
Verify that they test materials, document findings, and follow industry standards for removal and drying.
When you choose a team with proven training, you join a process built on accountability and safety, and you reduce the chance of recurring contamination in your space.
Scheduling Immediate Inspection
Once you’ve identified a qualified remediation team, call right away and schedule an on-site inspection as soon as possible after the flood. You’ll protect your home faster when you document conditions before hidden mold spreads.
Bring your inspection checklist and confirm the inspection timeline so the crew can evaluate wet materials, HVAC contamination, and moisture readings without delay. Act now, and you’ll join other prepared homeowners who stop damage early.
- Verify arrival within 24 hours.
- Mark affected rooms, walls, and contents.
- Ask for written findings and next steps.
During the visit, stay available for questions and access. This lets the team map damage, prioritize containment, and recommend drying or removal actions.
Clear scheduling gives you control, reduces uncertainty, and keeps your recovery on track.
Document Flood Damage for Insurance
You should photograph every affected area before you move or clean anything, including walls, floors, contents, and visible mold growth.
Record each water intrusion source with notes on location, timing, and likely cause so you can support the claim with clear evidence.
Save all repair and cleanup receipts, because your insurer may need them to verify losses and reimbursement.
Photograph Every Affected Area
Before cleanup starts, photograph every affected area so you can document the flood damage for your insurer and support any claim you file.
Use mold photography techniques that keep images sharp, well lit, and traceable. Stand back for room-wide shots, then move in for close-ups of staining, warped materials, and visible growth. Keep each frame in focus and include a ruler or familiar object for scale when useful.
- Capture every wall, floor, ceiling, and baseboard.
- Photograph each damaged item from multiple angles.
- Save files with dates and room names for documenting damage.
You’re building a clear record that helps your restoration team and claim adjuster understand the scope fast.
Stick with a consistent method, and you’ll protect your evidence, your timeline, and your place in the recovery process.
Record Water Intrusion Sources
Record every likely water intrusion source as soon as it’s safe to enter the area, because this evidence helps your insurer trace the flood path and verify the extent of the damage.
You should document each entry point with date, time, location, and observed conditions, including roof leaks, foundation seepage, window failures, plumbing breaks, and backed-up drains.
For clear water source identification, note how water moved through rooms, walls, floors, and HVAC openings. Use concise labels that match your flood damage assessment photos and floor plan so your file stays organized and credible.
If you spot hidden staining, warped materials, or moisture at seams, record it immediately. Your careful notes strengthen the claim, support cleanup decisions, and help your recovery team work with confidence.
Save Repair And Cleanup Receipts
Once you’ve logged the water intrusion points, keep every repair and cleanup receipt to build a complete insurance record. You’ll want dated invoices, contractor estimates, sanitizer purchases, and dumpster fees organized by room and task. This documentation supports your insurance coverage claim and helps adjusters verify losses quickly.
Store digital scans and originals in one file set, then label each item with the date, vendor, and mitigation purpose.
- Photograph each receipt beside the damaged area.
- Match receipts to work orders and payment confirmations.
- Save mileage, lodging, and temporary housing costs.
If you later review tax deductions, these records can also substantiate eligible expenses. Stay methodical; your detailed file helps your household move forward with confidence and belonging.
Clean and Disinfect Every Surface
Start with hard, nonporous surfaces and remove all visible mud, residue, and organic matter using hot water and detergent, because disinfectants work poorly on dirty surfaces.
Then rinse, apply effective disinfectants exactly as the label directs, and keep the surface wet for the full contact time. Use gloves, eye protection, and good ventilation while you work.
Wipe from the cleanest area toward the dirtiest so you don’t spread contamination. For porous items you can’t fully clean, remove and discard them.
Disinfect sinks, counters, appliances, tools, and framing members you can reach.
Dry every surface completely with fans and dehumidifiers, since moisture supports regrowth.
These mold prevention strategies help you restore a safer space and protect the people who belong there.
Test Air Quality for Hidden Mold
You should collect indoor air samples with a calibrated pump and spore trap cassette to detect mold that isn’t visible on surfaces.
Place samples in affected rooms and at an outdoor control location so you can compare indoor and background spore levels.
Review the spore counts and species mix to identify abnormal results that indicate hidden growth in walls, cavities, or HVAC components.
Air Sampling Basics
After flooding, air sampling helps determine whether mold spores are circulating in the indoor environment even when visible growth is limited. You’ll protect your team and home by checking air quality before demolition or cleaning.
Use calibrated pumps, spore traps, and a written sampling plan so you collect comparable data.
- Place indoor and outdoor samples at the same time.
- Keep doors, windows, and HVAC settings consistent.
- Label each cassette, room, and time clearly.
Sample high-risk rooms, especially closets, wall cavities, and return vents, where hidden contamination often lingers.
Avoid disturbing surfaces before collection, because agitation can skew results. When you document conditions, you build trust with your crew and create a cleaner path toward safe, certified remediation.
Interpreting Spore Results
How should you read spore counts after a flood? Start by comparing indoor samples to outdoor controls. If indoor counts exceed outdoor levels, or you see species tied to water damage, treat the space as contaminated.
Use spore identification techniques to separate common background fungi from taxa that signal hidden growth behind walls, under flooring, or in HVAC components.
Then check mold growth factors: moisture, temperature, organic debris, and ventilation. Elevated counts alone don’t prove active colonies, but trends, damaged materials, and odors strengthen the case.
You’re not guessing—you’re correlating lab data with site conditions. When results show elevated or atypical spores, document locations, notify the remediation team, and confirm drying before rebuilding.
This helps your crew act as one, safely and efficiently.
Repair Basement Damage Safely
Start basement repairs only after the space is fully dry and the mold source is controlled. You’ll protect your team and home by following certified cleanup steps before rebuilding.
Remove damaged drywall, insulation, and porous trim down to clean framing. Inspect joists, sill plates, and the slab for staining, rot, or movement. If you find structural compromise, call a licensed contractor before proceeding.
- Verify moisture levels with a meter.
- Disinfect hard surfaces, then let them dry.
- Apply basement waterproofing techniques to reduce future seepage and support flood damage prevention.
Use corrosion-resistant fasteners and mold-resistant materials during reassembly. Seal penetrations, improve drainage, and test the sump system.
When you repair methodically, you join a safer, stronger recovery process.
Conclusion
You’ve taken the right steps to control flood damage and reduce mold risk. By stopping the water, drying the basement, removing contaminated materials, and documenting every loss, you build a safer recovery process. Clean and disinfect all surfaces, then test air quality before you repair. If hidden moisture remains, mold can return like a shadow after dark. Stay methodical, use certified help when needed, and you’ll restore the space safely and effectively.