When floodwater hits, emergency flood cleanup means you need to act fast and in the right order. Shut off power, document the damage, and begin removing standing water before it spreads further. Then remove soaked materials, dry the space with fans and dehumidifiers, and disinfect any contaminated surfaces. But the job isn’t finished there, because hidden moisture and structural damage can continue to worsen if you miss the next critical steps.
Key Takeaways
- Shut off power and the main water valve immediately, and evacuate if you smell gas.
- Photograph all damage before moving items, including wide shots, close-ups, serial numbers, and water lines.
- Pump out water safely using the right equipment, and direct discharge away from the foundation.
- Remove wet carpets, drywall, and insulation within 24 to 48 hours to prevent mold growth.
- Dry and disinfect the area thoroughly with fans, dehumidifiers, and EPA-registered cleaners after sewage exposure.
Stop Basement Flooding and Shut Off Power
If water is still rising, you need to stop the source immediately and shut off power to the affected area.
If you can do it safely, close the main water valve, clear the sump intake, and redirect runoff away from the foundation. Your goal is flood prevention, not cleanup yet.
Next, cut electricity at the breaker, not with wet hands or standing in water. Keep out of submerged rooms until you confirm power safety.
If you smell gas, leave at once and call emergency services.
Use boots, gloves, and a flashlight with fresh batteries. Stay with your household, warn nearby neighbors, and coordinate with them so no one reenters too soon.
Acting fast protects your space, your crew, and your recovery.
Photograph Damage for Your Insurance Claim
Once the area is safe and the water is no longer rising, document the damage before you move or discard anything. Use your phone or camera to capture wide shots of every affected room, then take close-ups of ruined flooring, drywall, furniture, appliances, and personal items.
Include serial numbers, water lines, and visible debris. Photograph from multiple angles in good light, and keep each image dated. If you can, record a brief video walkthrough to support your insurance documentation.
Save original files and back them up in the cloud. Create a simple log that links each photo to its location and condition. This evidence helps your claim process move faster and reduces disputes.
You’re not handling this alone; clear records help your whole recovery team work from the same facts.
Pump Out Standing Water Fast
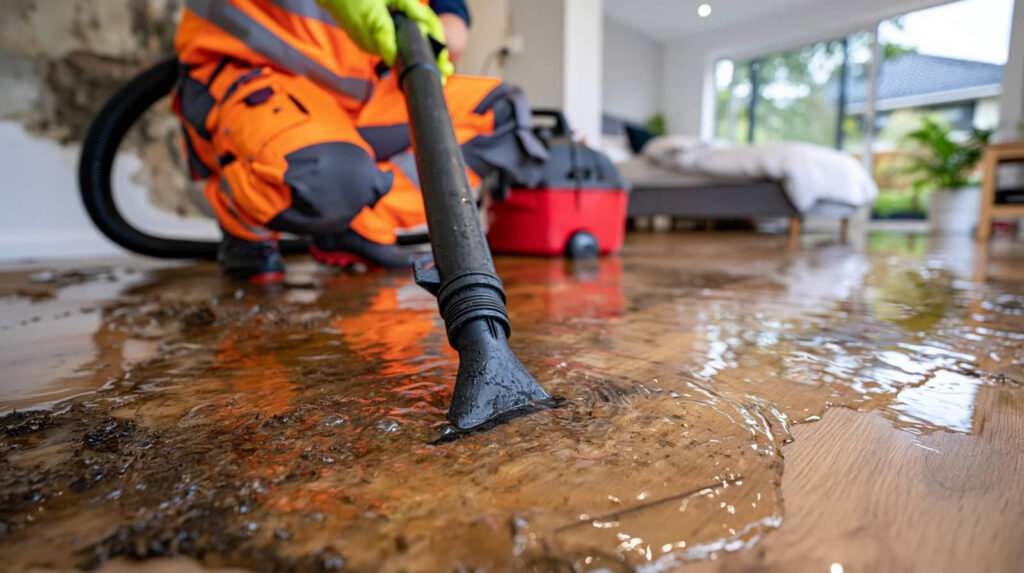
Choose a pump that matches the water depth and debris load: a utility pump handles shallow clean water, while a trash pump works better when sediment or small solids are present.
Before you start, shut off power to the flooded area, wear protective gear, and route the discharge hose far from the structure so water doesn’t flow back.
Pump in stages to avoid stressing walls and floors, and monitor the area for hidden hazards as the level drops.
Choosing the Right Pump
When standing water lingers after a flood, you need a pump that matches the depth, volume, and debris load of the job.
You’ll usually choose between submersible pumps and portable pumps, each suited to specific pump types and site conditions. Check pump capacity first so you can move enough water without stalling.
Match the power source to your available outlets, generator, or battery setup. If you’re working on a tight budget, compare rental options before you buy.
Inspect pump accessories like hoses and strainers to improve flow and reduce clogging. Keep pump maintenance simple: clean intakes, verify seals, and store equipment dry.
When your crew picks the right unit, you’ll clear water faster, protect the space, and stay ready for the next step.
Safe Water Removal Steps
Before you start pumping, shut off power to the affected area and confirm the water isn’t contaminated with live electrical hazards or structural instability.
Then put on boots, gloves, and eye protection, and map the lowest exit path for discharge. Use a pump rated for the depth and debris load, place the intake in the deepest section, and keep the hose directed away from foundations.
Monitor flow constantly so you can stop if the pump cavitates or clogs. As water drops, reposition the intake to avoid dry running and accelerate removal.
These water extraction techniques work best when you follow safety precautions, maintain clear footing, and move with your team methodically. You’ll protect the space, reduce damage, and stay ready for the next cleanup step.
Remove Wet Items Before Mold Starts
Remove saturated materials first, since they’ll support mold growth within 24 to 48 hours.
Pull out wet carpets, drywall, insulation, and fabrics immediately, then separate items that can still be cleaned and dried from those that can’t.
Sort salvageable belongings quickly so you can reduce contamination and limit structural damage.
Prioritize Saturated Materials
Wet materials need immediate attention because mold can begin developing within 24 to 48 hours.
You should prioritize saturated materials first during your moisture assessment, because they hold the most water and create the fastest microbial risk. Move with your crew and remove these items before less affected goods, keeping pathways clear and safe.
- Pull out soaked carpet and padding.
- Remove waterlogged drywall and insulation.
- Lift saturated furniture cushions and textiles.
- Bag smaller wet contents for disposal.
Use gloves, boots, and eye protection.
Document what you remove, but don’t delay extraction for inventory. Quick action limits structural damage and helps your team stay organized, confident, and aligned during cleanup.
Sort Salvageable Belongings
As you clear saturated rooms, sort salvageable belongings immediately so you can separate keepers from items that need disposal before mold takes hold.
Work methodically: move dry, nonporous objects to a clean area, and label damaged stacks by room and condition.
Use salvage techniques to evaluate furniture, documents, electronics, and personal items based on contamination level, drying time, and structural integrity.
Discard anything that stayed submerged, absorbed sewage, or shows visible growth. Keep only items you can clean, disinfect, and dry within 24 to 48 hours.
Pack keepsakes in breathable containers, not sealed bags, to limit moisture. Photograph losses for insurance, and handle cherished belongings with gloves to reduce exposure.
Quick sorting protects your home, supports recovery, and helps you regain control fast.
Dry the Basement With Fans and Dehumidifiers
Once you’ve cleared standing water, use high-velocity fans and a dehumidifier to pull moisture out of the basement as quickly as possible. Position equipment to create crossflow and steady evaporation.
Your air circulation techniques should move damp air toward vents or exits, while moisture absorption methods inside the dehumidifier collect vapor continuously.
- Place fans at opposite ends
- Aim airflow across wet walls
- Empty the dehumidifier often
- Keep doors and windows closed
Run the system 24/7 until surfaces feel dry and indoor humidity drops below 60%.
Check hidden spaces behind furniture, under stairs, and along baseboards. If you’re working with your crew, coordinate equipment placement so everyone keeps the same drying pattern.
Fast, organized drying helps your basement recover cleanly and keeps your team on track.
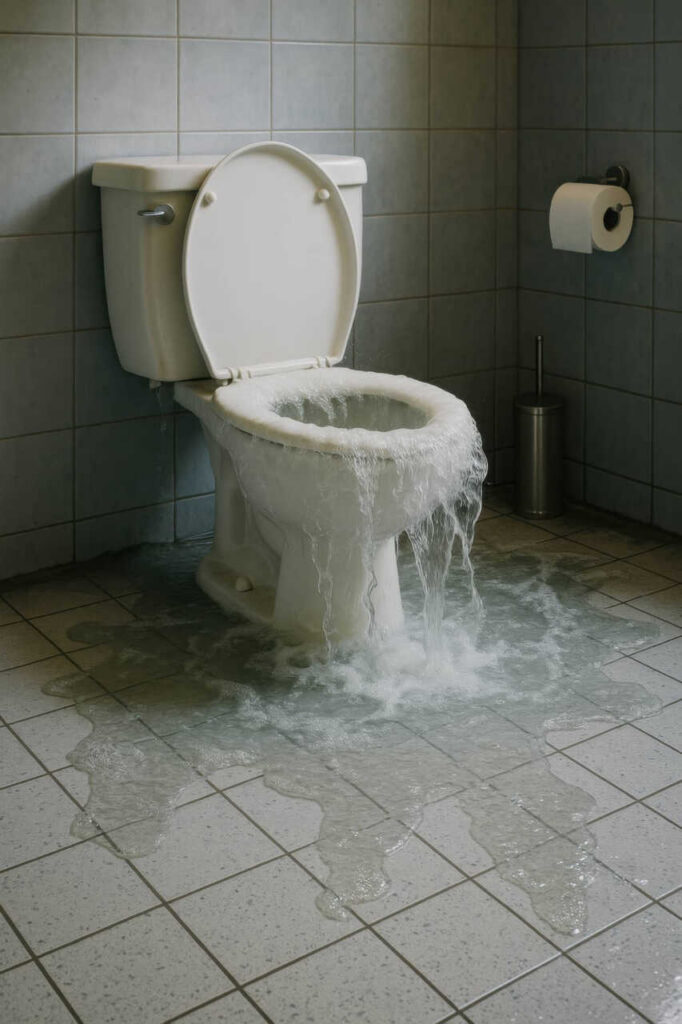
Disinfect After Sewage or Floodwater
After sewage or floodwater exposure, disinfect all hard, nonporous surfaces with an EPA-registered antimicrobial cleaner or a bleach solution mixed to label directions.
You should wear gloves, boots, and eye protection before you start, because sewage contamination can create serious health hazards.
Scrub dirt away first, then keep the surface wet for the full contact time listed on the product label. Rinse food-prep areas with clean water after disinfection.
Bag and discard porous items that can’t be cleaned safely. Wash your hands and change contaminated clothing right away.
If you smell persistent contamination or feel unsure, call a qualified restoration professional so your cleanup team stays protected and the space can return to safe use quickly and confidently.
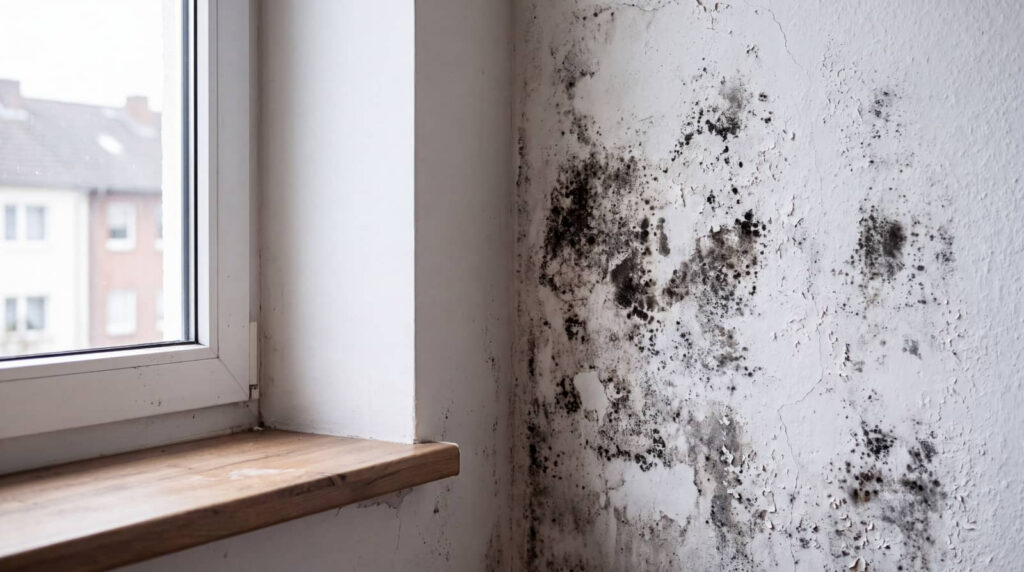
Check for Mold Growth and Foundation Damage
Inspect the damaged area for mold growth and foundation shifts as soon as surfaces are safe to enter. You should document stains, odors, warped materials, and cracked masonry so your team can act fast.
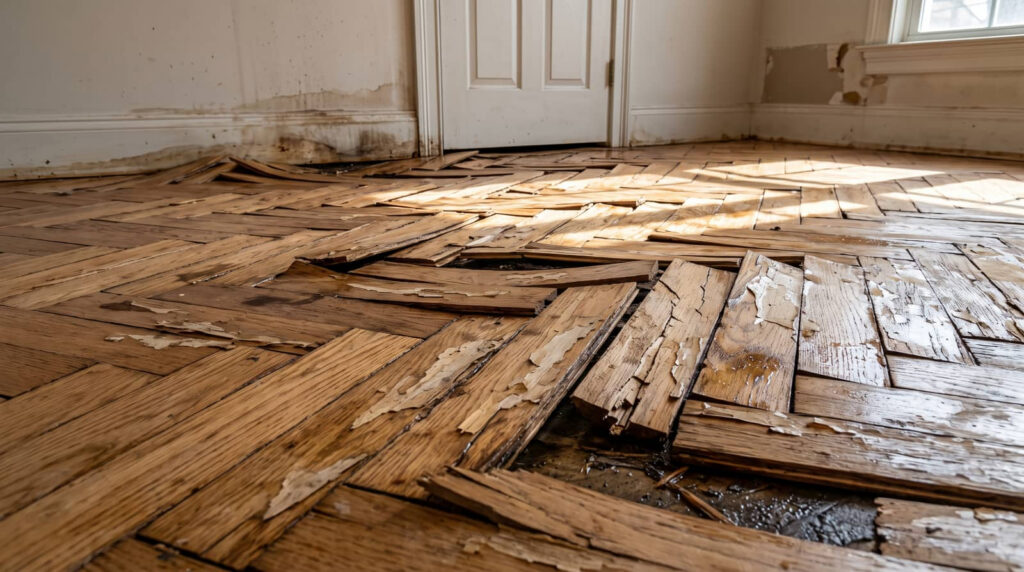
Use a flashlight and moisture meter to confirm hidden dampness. If you spot soft drywall, visible spores, or buckling floors, isolate the zone immediately. A quick foundation assessment helps you catch settlement, heaving, and lateral movement before repairs get costlier.
For mold prevention, dry the structure within 24 to 48 hours and remove porous materials that stayed wet.
- Check baseboards, joists, and corners.
- Measure moisture in walls and slab.
- Mark new cracks for monitoring.
- Call a structural pro if shifts grow.
Final Thoughts
When floodwater hits, you have to act fast: shut off power, document everything, pump out standing water, and remove soaked materials before mold can explode. Then dry the space with fans and dehumidifiers, disinfect all contaminated surfaces, and keep checking for mold and foundation damage. If you stay disciplined and move quickly, you’ll protect your home, your health, and your claim. Don’t wait—every minute can turn cleanup into a thousand headaches.