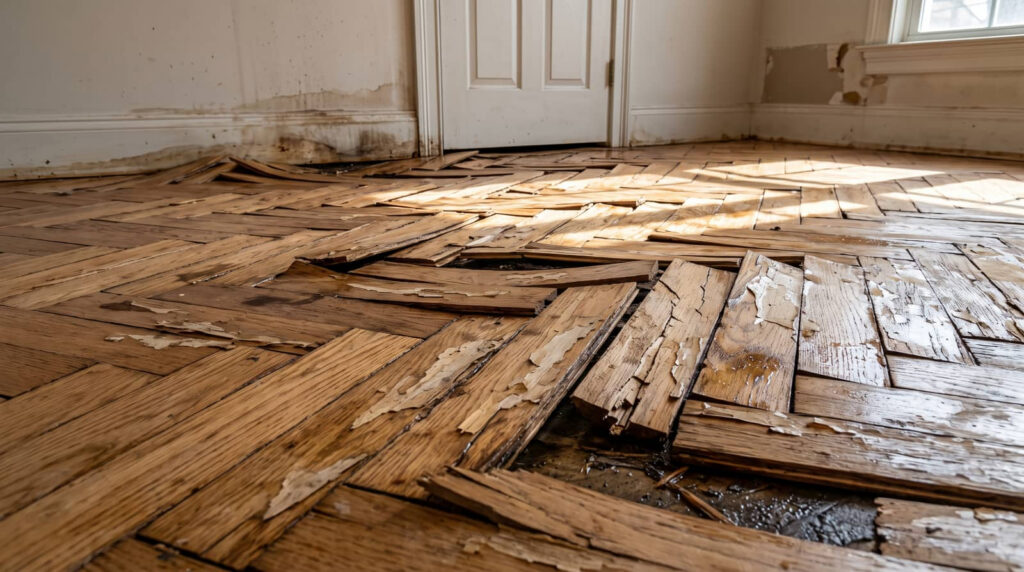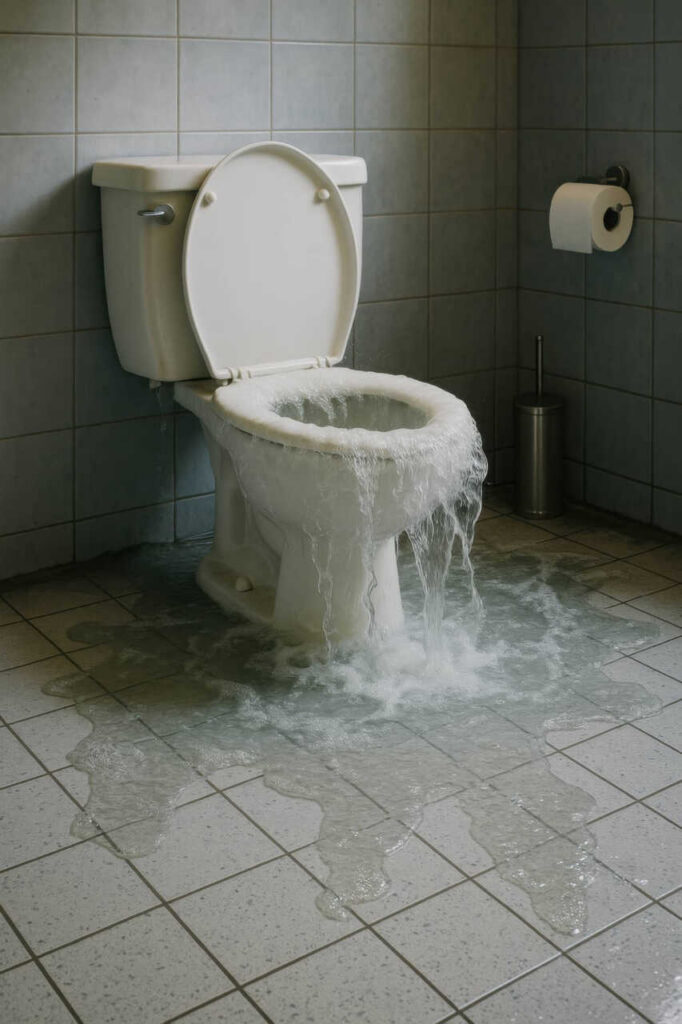
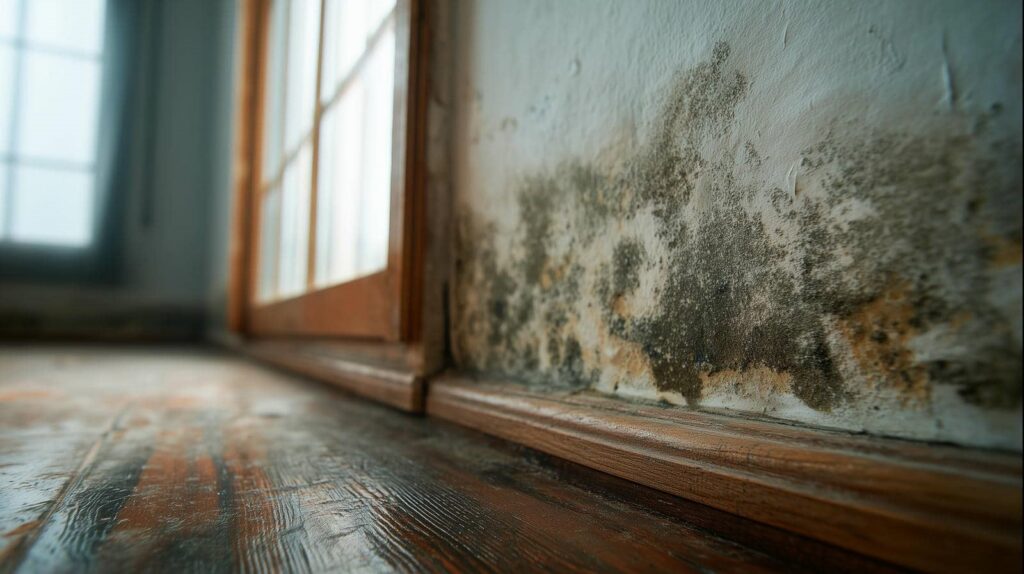
After flooding, Emergency Mold Remediation is often necessary to prevent further damage and protect your home from widespread mold growth. You need to act quickly to remove standing water and ensure proper ventilation. Evaluating water damage and identifying common mold growth areas is essential. Knowing the right cleaning products and recognizing when to call in professionals can save you time and money. But what precautions should you take, and how can you prevent future issues? Let’s explore these important steps.
Key Takeaways
- Remove standing water immediately using a wet vacuum or pump to minimize moisture exposure.
- Increase ventilation by opening windows and using exhaust fans to promote airflow and drying.
- Set up dehumidifiers in affected areas to extract moisture and maintain humidity below 60%.
- Conduct a thorough visual inspection for mold signs, discoloration, or hidden moisture in walls and floors.
- Use appropriate mold removal cleaning products, like bleach or vinegar, on affected surfaces to inhibit growth.
Quick Steps to Dry Your Home
When water damage occurs, acting quickly can save you time and money. Start by removing standing water using a wet vacuum or pump.
Next, implement effective ventilation strategies; open windows and doors to encourage airflow. This helps reduce humidity levels, which is essential for preventing mold growth.
Simultaneously, set up dehumidifiers in affected areas. Dehumidifier usage accelerates the drying process by extracting moisture from the air. Aim to maintain indoor humidity below 60% to inhibit mold spores.
After drying, inspect for hidden moisture in walls and floors. By combining these methods, you expedite the drying process while promoting a healthier living environment.
Taking these steps ensures you’re actively protecting your home and well-being.
How to Assess Water Damage?
To assess water damage effectively, start with a thorough visual inspection of affected areas.
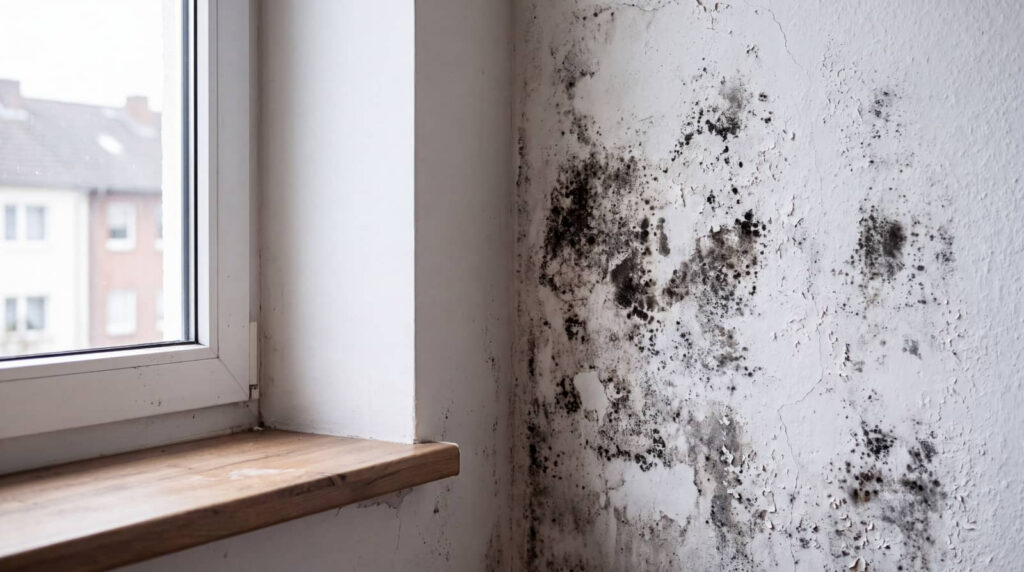
Look for discoloration, warping, or signs of mold growth on surfaces.
Utilize moisture detection tools to identify hidden dampness behind walls and under flooring.
Visual Inspection Techniques
Although mold can thrive in hidden areas, a thorough visual inspection is essential for evaluating water damage effectively.
Use these inspection methods to identify visual cues that indicate potential mold growth:
- Check for discoloration on walls, ceilings, and floors.
- Look for peeling paint or wallpaper, which can signal moisture issues.
- Inspect areas around windows and doors for water stains or condensation.
- Examine carpets and rugs for dampness or musty odors.
Moisture Detection Tools
While visual inspections are important, using moisture detection tools provides a more accurate assessment of water damage. Moisture meters are essential for quantifying the level of moisture in various materials, helping you identify hidden issues within walls or floors. These handheld devices can quickly indicate whether a material is saturated, guiding your remediation efforts effectively.
Infrared thermography is another powerful tool in your arsenal. It uses thermal imaging to detect temperature variations, revealing moisture accumulation behind surfaces. This non-invasive method allows you to pinpoint problem areas without causing additional damage.
Common Areas for Mold Growth in Homes
Mold can thrive in several common areas within homes, often in places you might overlook. Recognizing these spots is essential to prevent mold proliferation after flooding. Pay attention to:
- Attic spaces: Moisture can accumulate here, especially if ventilation is poor.
- Basement corners: These areas are typically damp and dark, providing an ideal environment.
- Behind appliances: Leaks or spills can create hidden moisture zones.
- Bathroom fixtures: Showers and sinks often harbor excess humidity, promoting mold growth.
Other areas like kitchen cabinets, window frames, crawl spaces, and wall cavities are also susceptible.
Regular inspections and proactive measures can help you maintain a mold-free home and foster a sense of safety for you and your loved ones.
Best Cleaning Products for Mold Removal
When tackling mold removal, choosing the right cleaning products is vital for effectiveness.
You’ll find powerful mold killers, alongside eco-friendly options that minimize environmental impact.
Additionally, having essential cleaning tools on hand can streamline your remediation process.
Effective Mold Killers
Choosing the right cleaning products is essential for effective mold removal. You’ll want to target those stubborn mold spores and ensure your space is safe and clean.
Here are some effective mold killers to evaluate:
- Bleach: A strong chemical treatment that kills mold on non-porous surfaces.
- Hydrogen Peroxide: An eco-friendly option effective against mold spores and bacteria.
- Vinegar: A natural solution that can inhibit mold growth, particularly in damp areas.
- Boric Acid: A powerful compound that penetrates materials to eliminate mold at its source.
Using these products correctly will help you manage mold effectively, reducing the risk of future growth and creating a healthier living environment.
Remember to always follow safety guidelines when using chemical treatments.
Eco-Friendly Options Available
While traditional mold killers can be effective, eco-friendly options offer a safer alternative for both your health and the environment. You can choose green cleaning products that utilize sustainable materials, ensuring you’re not introducing harmful chemicals into your home.
Look for solutions containing vinegar, baking soda, or hydrogen peroxide, which can effectively combat mold without compromising indoor air quality. Brands focused on sustainability often provide formulations free from harsh toxins, making them safer for your family and pets.
Additionally, consider using essential oils like tea tree or lavender, known for their mold-fighting properties. By opting for these eco-friendly alternatives, you’re taking a significant step towards a healthier living space while supporting environmentally responsible practices.
Essential Cleaning Tools
To effectively tackle mold removal, having the right cleaning tools is vital. Using the appropriate cleaning supplies helps in removing existing mold and aids in mold prevention.
Here’s a list of must-have items for your mold remediation toolkit:
- Protective Gear: Gloves, masks, and goggles to ensure safety during cleanup.
- Mold Cleaner: A specialized mold removal solution that targets spores effectively.
- Scrub Brushes: Stiff-bristled brushes for scrubbing surfaces, especially porous materials.
- Dehumidifier: A device to reduce humidity levels, essential in preventing future mold growth.
Equipping yourself with these tools will enhance your efforts and protect your environment from mold-related issues.
Signs You Need Professional Mold Removal Help?
Wondering if it’s time to call in the experts for mold removal? Look for specific mold symptoms that signal a serious problem.
If you notice a musty odor, visible mold growth, or persistent health issues like coughing or sneezing, you shouldn’t ignore them. These indicators often mean the mold is beyond DIY solutions.
A professional assessment can identify hidden mold and determine the extent of damage. If your property has been exposed to flooding or high humidity, the need for expert intervention becomes essential.
Don’t risk your health or property; timely action can save you from extensive repairs. Remember, addressing mold early can make all the difference in creating a safe and healthy environment for you and your loved ones.
Prioritizing Safety: What to Avoid
When dealing with mold issues, prioritizing safety is essential to prevent further complications. You should avoid certain actions that could exacerbate the problem or put you at risk. Here’s what to keep in mind:
- Don’t enter areas with heavy mold growth without proper safety equipment.
- Avoid using fans or heaters, which can spread spores.
- Don’t ignore your emergency contacts; reach out to professionals for help.
- Avoid mixing cleaning solutions, as this can create toxic fumes.
Preventing Future Mold Growth After Flooding
After flooding, taking immediate action is essential to prevent future mold growth. Start by thoroughly drying out your space within 24-48 hours.
Use fans and dehumidifiers to maintain humidity control, keeping levels below 60%. Replace any water-damaged materials with mold resistant materials, such as drywall or insulation designed to withstand moisture.
Regularly inspect areas prone to humidity, like basements and bathrooms, and ensure proper ventilation. Seal leaks and gaps to prevent water intrusion.
Additionally, consider using mold inhibitors in paints and sealants to further protect surfaces.
Frequently Asked Questions
How Long Does It Take for Mold to Grow After Flooding?
Mold can start growing within 24 to 48 hours after flooding. To ensure effective flood damage prevention, act quickly to dry affected areas and eliminate moisture, reducing the mold growth timeline considerably. Time is essential.
Can I Use Bleach to Remove Mold?
You can use bleach to remove some mold types, but its effectiveness varies. It doesn’t penetrate deeply, so porous materials may still harbor spores. Consider specialized mold removers for thorough treatment and better results.
Is Mold Removal Covered by Homeowners Insurance?
Mold removal’s often covered by homeowners insurance, but it depends on your mold insurance policies and coverage limits. Review your policy details to understand what’s included and any potential exclusions for mold-related incidents.
What Personal Protective Equipment Do I Need for Mold Remediation?
For mold remediation, you need gloves, goggles, an N95 respirator, and protective clothing. These items shield you from mold exposure, ensuring you follow safety guidelines while keeping your environment safe and secure for everyone involved.
How Do I Know if My Air Quality Is Safe After Mold Removal?
To ensure your air quality is safe after mold removal, conduct air quality testing. Check for mold spore reduction; if levels are below recommended thresholds, you’re likely in the clear. Always prioritize your health and safety.
Wrap-Up
Act swiftly to dry your home, assess water damage, and clean effectively. Monitor for mold signs, prioritize safety, and don’t hesitate to call professionals if needed. By addressing these issues promptly, you can prevent future mold growth and protect your living space. Remember, a proactive approach ensures a healthier environment, safeguards your belongings, and maintains your home’s integrity. Stay vigilant, stay informed, and take charge of your mold remediation efforts.