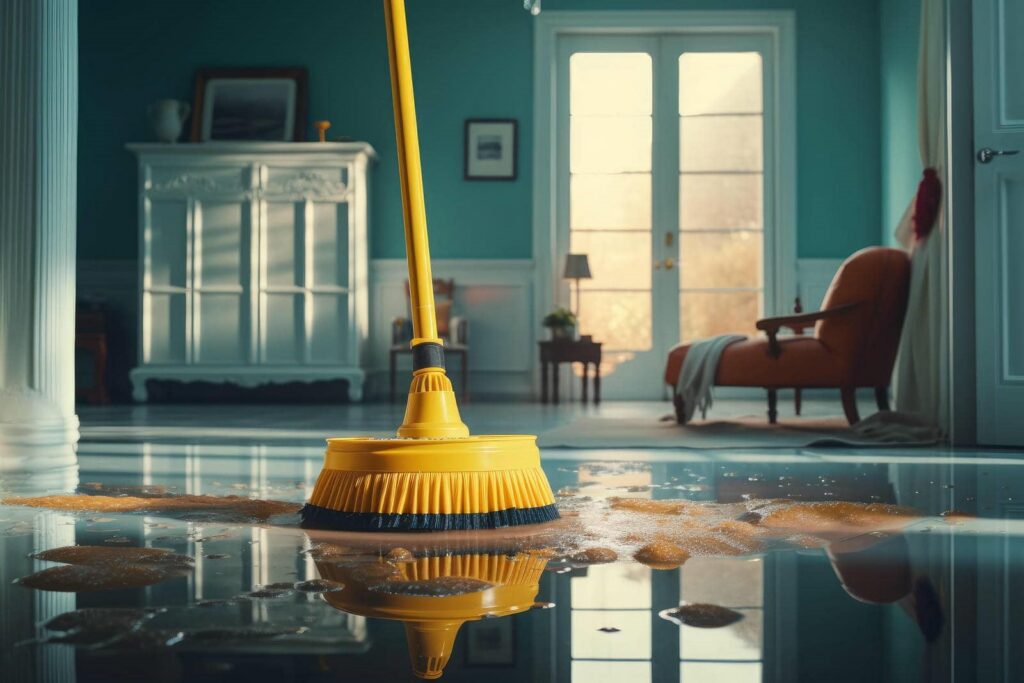
After a severe storm flooded your basement, you might notice mold creeping along the walls. It’s essential to act quickly and systematically to prevent further damage. Start by evaluating moisture sources, then move to water extraction. Each mold remediation step matters, from ventilation to applying specialized treatments. Understanding these procedures can greatly influence the effectiveness of your remediation efforts. Are you prepared to tackle the complexities that follow water damage?
Key Takeaways
- Identify and address moisture sources to prevent mold growth in affected areas.
- Use appropriate protective gear and establish proper ventilation during remediation.
- Extract water quickly with wet/dry vacuums and submersible pumps as needed.
- Apply professional-grade mold treatments following manufacturer guidelines for effectiveness.
- Maintain low indoor humidity and regularly inspect for leaks to prevent future mold issues.
Identifying Water Damage and Mold Issues
When you suspect mold issues, the first step is identifying any underlying water damage.
Begin your water damage evaluation by examining areas prone to moisture, like basements, bathrooms, and around windows. Use mold identification techniques such as visual inspections, moisture meters, and infrared cameras to pinpoint hidden leaks.
Look for discoloration, peeling paint, or a musty odor, which often indicates mold growth. Pay close attention to materials like drywall and wood, as they can absorb moisture and facilitate mold proliferation.
Don’t overlook HVAC systems, as they can spread spores throughout your home.
How to Extract Water Quickly
Act quickly to extract water and minimize damage. Start by shutting off the power in affected areas to ensure safety.
Use a wet/dry vacuum for efficient water extraction, targeting high-water areas first. If the water level is significant, consider submersible pumps for rapid removal.
After initial extraction, focus on moisture control; open windows and use fans to expedite drying. Dehumidifiers are essential, as they’ll help reduce humidity levels and prevent mold growth.
Monitor moisture levels with a hygrometer to verify your space is drying effectively.
Setting Up Your Space for Mold Remediation
Before starting mold remediation, it’s crucial to set up your space effectively to ensure safety and efficiency.
First, gather your protective gear, including gloves, goggles, and N95 respirators, to shield yourself from mold spores.
Next, create a proper ventilation setup by opening windows and using exhaust fans to facilitate airflow. This reduces airborne contaminants and helps maintain a safe breathing environment.
Seal off the affected area with plastic sheeting to prevent spores from spreading to unaffected sections.
Make sure to have all necessary tools and materials within reach, streamlining your process.
Effective Techniques for Professional Mold Removal
To ensure effective mold removal, you must employ a combination of techniques tailored to the severity of the infestation. Start by evaluating the area and identifying moisture sources.
Use chemical treatments specifically designed for mold, ensuring they’re safe for the surfaces involved. Always follow manufacturer guidelines for application.
Next, implement air filtration systems to capture airborne spores, enhancing air quality during remediation. HEPA filters are particularly effective, as they can trap even the smallest particles.
Maintain consistent airflow to prevent mold spores from settling. After treatment, monitor the area for any signs of recurrence.
Long-Term Strategies to Prevent Mold Recurrence
While you’ve successfully removed mold, ensuring it doesn’t return requires a proactive approach to moisture control and environmental management.
Start by implementing effective humidity control measures; aim to keep indoor humidity levels between 30% and 60%. Use dehumidifiers in damp areas and regularly monitor humidity levels with a hygrometer.
Next, focus on ventilation improvements. Confirm exhaust fans in bathrooms and kitchens are functional and vented outside. Consider installing additional vents or windows to promote air circulation, especially in basements and attics.
Regularly inspect your property for leaks in plumbing, roofs, and walls. Address any issues immediately to prevent moisture buildup.
Frequently Asked Questions
How Can I Tell if Mold Is Toxic or Non-Toxic?
You can identify toxic mold by using mold identification techniques like visual inspections and air quality tests. Look for toxic mold indicators, such as a musty odor, discoloration, or health symptoms like respiratory issues.
What Are the Health Risks Associated With Mold Exposure?
Mold exposure can lead to various health effects, including allergic reactions, respiratory issues, and skin irritations. You might experience symptoms like sneezing or coughing, so it’s essential to address any mold problems promptly to safeguard your health.
Can I Perform Mold Remediation Myself?
You can attempt mold remediation yourself, but ensure you follow effective mold removal techniques. Don’t forget to prioritize DIY safety precautions, like using protective gear and proper ventilation, to minimize health risks while working.
How Long Does Professional Mold Remediation Take?
“Time waits for no one.” Typically, professional mold remediation takes 1 to 5 days, depending on mold growth severity and the remediation timeline. Factors like area size and materials involved can influence the overall duration.
Will Insurance Cover Mold Remediation Costs?
Yes, insurance policies often cover mold remediation costs, but it depends on your specific mold coverage options. Review your policy details and consult your agent to understand what’s included and any exclusions that may apply.
Summary
Effective mold remediation is essential after water damage. Did you know that many homes in the U.S. have mold issues? By following the outlined steps—assessing, extracting, ventilating, applying treatments, and filtering air—you can greatly reduce mold risks. Implementing these strategies ensures a healthier living environment and protects your property from future damage. Stay proactive, and you’ll keep mold at bay for good.