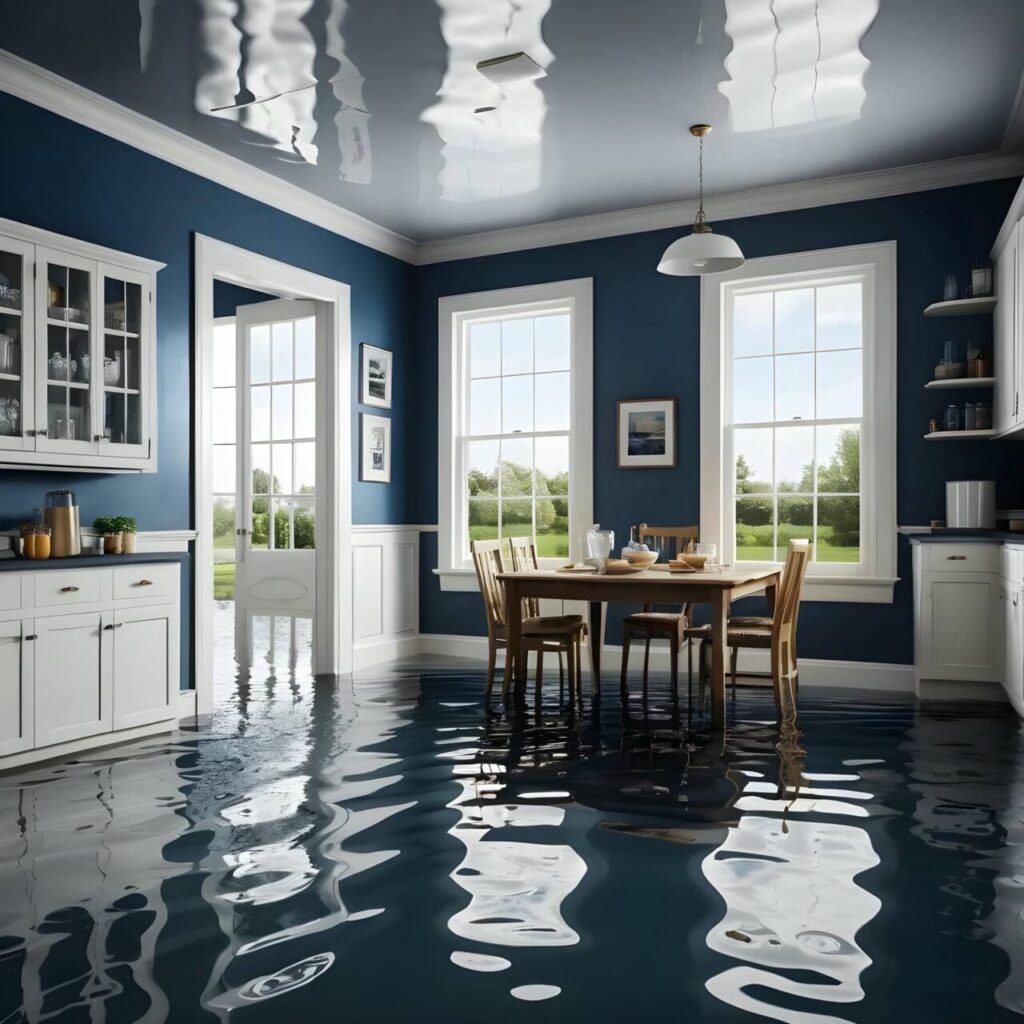
When faced with an emergency water cleanup situation, your response needs to be swift and precise. Start by evaluating the damage and prioritizing safety. Shut off utilities to avert further issues, then focus on removing standing water efficiently. Each step plays a vital role in preventing additional complications, like mold growth. But understanding what comes next can make all the difference in your cleanup efforts. Let’s explore the essential tips that will guide you through this process.
Key Takeaways
- Quickly assess the situation and identify the water source to prioritize cleanup efforts and ensure safety.
- Shut off utilities, including water, electricity, and gas, to prevent further damage and hazards.
- Remove standing water promptly using pumps or wet vacuums to minimize damage and reduce mold growth.
- Dry out affected areas with dehumidifiers and fans to maintain humidity levels below 60%.
- Regularly inspect for mold growth and disinfect surfaces thoroughly to ensure a safe, clean environment.
Assess the Situation Quickly
As soon as you notice water damage, it’s vital to assess the situation quickly to prevent further complications.
Begin with a quick evaluation of the affected area. Identify the source of the water, whether it’s a leak, flood, or burst pipe. This initial damage assessment is essential; understanding the extent of the problem allows you to prioritize your next steps effectively.
Check for standing water, mold growth, and structural damage. Look for discolored walls or ceilings, as these can indicate deeper issues. Document everything with photos for insurance purposes.
If the damage is significant, don’t hesitate to reach out to professionals who specialize in water damage restoration. Their expertise ensures a thorough assessment and proper remediation.
Ensure Safety First
Before you plunge into cleanup efforts, it’s crucial to ensure your safety.
Begin by donning appropriate safety gear, including gloves, masks, and waterproof boots. This protects you from contaminants and prevents injuries while you work. Make sure to assess the area for hazards like sharp objects, electrical issues, or unstable structures.
Next, gather your emergency contacts and keep them handy. Should anything go awry or if you encounter a situation beyond your control, having these numbers at your fingertips can be invaluable.
Inform family members or neighbors about your cleanup efforts; this fosters a sense of community and ensures someone knows your whereabouts.
Shut Off Utilities
Once you’ve secured your safety, it’s essential to shut off utilities to prevent further damage or hazards.
Start with the main water supply; locate the shutoff valve and turn it clockwise. This action stops additional water from flowing into your home, minimizing damage.
Next, address electricity and gas. For electricity, switch off the main breaker—never do this if you’re standing in water. For natural gas, find the shutoff valve near your gas meter and turn it off.
Having utility shutoff procedures in mind can save you time and stress during an emergency.
Make certain your emergency contact list is updated with the numbers for your utility providers, as you may need to report the situation for further assistance.
These steps protect your property and ensures your environment remains safe for you and your loved ones.
Remove Standing Water
To effectively remove standing water, start by using a pump for larger volumes, as this will expedite the process considerably.
For smaller areas, employ towels and buckets to soak up and transport the water.
Acting quickly is essential to minimize damage and prevent mold growth.
Use a Pump
Start by choosing the right pump to tackle standing water effectively. Familiarize yourself with different water pump types, such as submersible and pedestal pumps, to find the best fit for your situation.
Submersible pumps are ideal for deeper water, while pedestal pumps work well for shallower conditions.
Once you’ve selected a pump, prioritize pump maintenance tips—inspect the power source, clean the filter, and check for any leaks or damages before use. This ensures peak performance and prolongs the pump’s lifespan.
Remember, timely action is essential in preventing mold and further damage, so don’t hesitate to deploy your pump as soon as possible.
With the right equipment and care, you’ll reclaim your space efficiently and confidently.
Employ Towels and Buckets
When dealing with standing water, employing towels and buckets can be an effective and immediate solution for smaller areas.
Start by strategically placing buckets in the lowest spots to collect as much water as possible. This reduces the volume of water and makes cleanup more manageable.
Next, utilize towel techniques—fold towels into thick layers and press them firmly onto wet surfaces. This helps absorb moisture quickly.
Replace saturated towels frequently to maintain effectiveness. Don’t forget to wring out the towels into your buckets; this maximizes water removal.
With methodical bucket placement and efficient towel techniques, you’ll ensure a thorough cleanup, fostering a sense of community as you tackle the challenge together.
Use Proper Equipment
Having the right equipment is essential for effective emergency water cleanup. Without proper tools, your efforts can be considerably hampered.
To streamline your cleanup, consider investing in the following emergency restoration equipment:
Wet/Dry Vacuum: This versatile tool is vital for water extraction techniques, allowing you to remove standing water quickly and efficiently.
Dehumidifier: A dehumidifier helps to eliminate excess moisture from the air, preventing mold growth and further damage.
Air Movers: These powerful fans increase air circulation, promoting faster drying of affected areas.
Using this equipment speeds up the cleanup process and ensures that you tackle the problem thoroughly.
Remember, the right tools can make all the difference in your emergency water cleanup efforts, helping you restore your space to its original condition.
Don’t underestimate the impact of being prepared!
Dry Out Affected Areas
To effectively dry out affected areas, start by removing all standing water using a wet vacuum or pump.
Next, strategically place dehumidifiers throughout the space to absorb moisture from the air.
Finally, ensure proper ventilation by opening windows and doors to facilitate airflow and expedite the drying process.
Remove Standing Water
Act quickly to remove standing water, as it can lead to further damage and mold growth if left unchecked.
Here are three effective water removal techniques to tackle standing water hazards:
Use a Wet/Dry Vacuum: This is your best tool for sucking up water from floors and carpets. Make sure to empty it frequently to maintain its efficiency.
Mop and Bucket: For smaller areas, a mop can help soak up residual water. Follow up with a bucket to dispose of the excess water promptly.
Bail Water: If the area is large, use a bucket to manually bail out standing water. This method works well in confined spaces.
Use Dehumidifiers Effectively
After removing standing water, the next step is to dry out affected areas thoroughly to prevent mold growth and further damage.
Start by strategically placing your dehumidifier in the center of the space, ensuring it’s close to the most saturated areas. This maximizes humidity control and accelerates drying. Aim for a humidity level below 60% for ideal results.
Run the dehumidifier continuously for at least 24 hours, checking the water collection tank regularly. If possible, use multiple units for larger areas, positioning them to create airflow across the space.
Ventilate the Space
While dehumidifiers play an essential role in drying out affected areas, proper ventilation is equally important for effective moisture removal.
By focusing on airflow management, you can considerably enhance humidity control and expedite the drying process.
Here are three steps to ventilate the space efficiently:
Open Windows and Doors: Allow fresh air to flow in and help reduce humidity levels.
Use Fans: Position fans strategically to create cross-ventilation, pushing moist air out and drawing in drier air.
Inspect Air Vents: Verify that HVAC systems are clear and functioning, promoting ideal airflow throughout the area.
Disinfect Surfaces
Once you’ve removed standing water and dried the affected areas, it’s crucial to disinfect surfaces to prevent mold growth and eliminate harmful pathogens.
Start with thorough surface preparation; this involves removing any debris or residues that could hinder the effectiveness of disinfecting agents. Use a scrub brush or cloth to confirm surfaces are clean and free of contaminants.
Next, select appropriate disinfecting agents tailored for the materials in your home. Bleach solutions or commercial disinfectants can work well, but always follow the manufacturer’s instructions for dilution and application.
Apply your chosen disinfectant generously to all affected surfaces, ensuring complete coverage. Allow it to sit for the recommended contact time to effectively kill germs.
Finally, rinse surfaces with clean water if required, and dry them properly to further reduce the risk of mold. Following these steps helps create a safer environment for you and your loved ones.
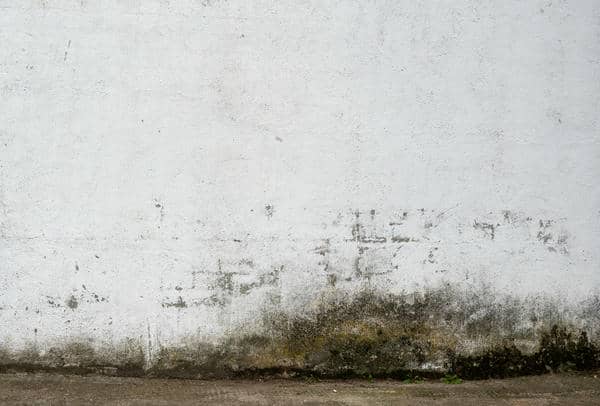
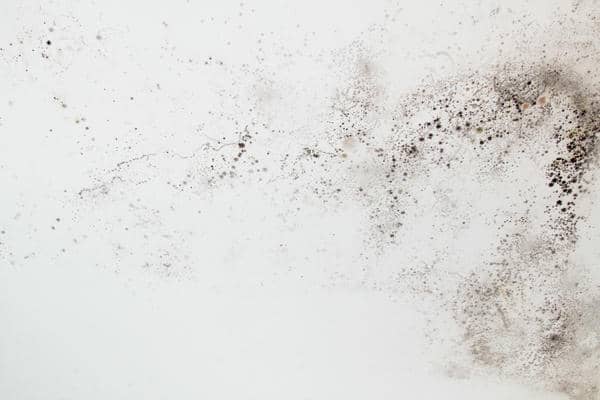
Monitor for Mold Growth
After addressing surface disinfection, it’s essential to monitor for mold growth in affected areas.
Regular inspections, combined with the use of moisture meters, will help you identify any potential problems early.
Look for signs such as discoloration, musty odors, or dampness to take swift action before mold spreads.
Inspect Affected Areas Regularly
To effectively prevent mold growth in areas affected by water damage, you must inspect these spaces regularly.
Regular inspections are essential for a thorough damage assessment and early detection of mold.
Here’s what to focus on during your inspections:
Check for Moisture: Look for any damp spots or lingering water, as these can be breeding grounds for mold.
Examine Surfaces: Inspect walls, ceilings, and floors for discoloration or a musty odor, which could indicate mold presence.
Monitor Hidden Areas: Don’t forget to check behind appliances and inside cabinets, as mold can thrive in less visible spots.
Use Moisture Meters
Using moisture meters provides a reliable method to monitor for mold growth in water-damaged areas.
These devices offer precise moisture detection, allowing you to pinpoint problem areas before mold takes hold. To ensure accuracy, you must perform regular meter calibration; this ensures you’re getting trustworthy readings.
When you measure moisture levels, focus on hidden spaces like behind walls and under flooring, where mold often thrives unnoticed.
By staying vigilant with your moisture meter, you’ll be actively protecting your home and loved ones from potential health risks associated with mold.
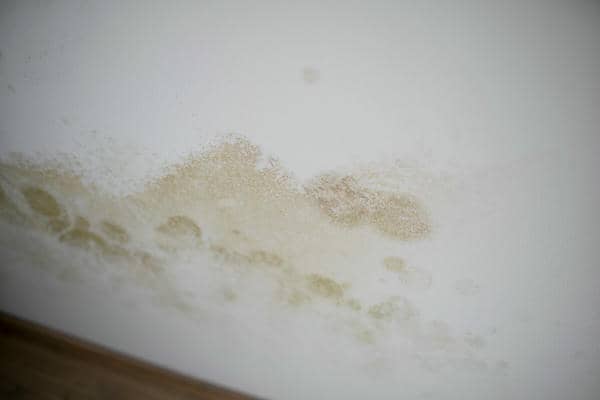
Identify Early Signs
As you address water damage, it’s crucial to identify early signs of mold growth to prevent more extensive issues.
Mold can spread rapidly if not caught in time. Watch for these key indicators:
Water stains: Look for discoloration on walls or ceilings, which often signals moisture accumulation.
Musty odors: If you notice a persistent, earthy smell, it’s a strong indication of mold presence, even if you can’t see it yet.
Visible mold spots: Check damp areas for any dark patches or fuzzy growth, particularly in bathrooms, basements, or near leaks.
Document the Damage
Documenting the damage after a water emergency is essential for effective recovery. Start with a thorough damage assessment of your property. Walk through each affected area, noting the extent of the water intrusion and any structural issues. Make a list of damaged items, including furniture, appliances, and personal belongings.
Next, take photographic evidence to support your claims. Capture images from various angles, focusing on the most severely impacted areas and items. This documentation will be crucial for insurance claims and restoration efforts.
Don’t forget to date each photo and include notes about specific damages. If you’re working with a contractor or insurance adjuster, having organized documentation will streamline the process.
Seek Professional Help if Needed
Once you’ve documented the damage, it’s time to evaluate whether you can handle the cleanup on your own or if you should enlist professional help.
In many cases, emergency services or restoration companies can provide the expertise and equipment necessary to tackle the situation effectively.
Here are a few reasons to contemplate seeking professional assistance:
Extent of Damage: If the water damage is extensive or affects multiple areas, professionals can assess the situation accurately.
Health Risks: Standing water can lead to mold growth and other health hazards. Experts know how to mitigate these risks safely.
Specialized Equipment: Restoration companies have access to advanced tools and technology that ensure thorough cleanup and drying.
Don’t hesitate to reach out for help. Your safety and the integrity of your home depend on making the right choice.
You’re not alone in this; professional support is just a call away.
Frequently Asked Questions
What Types of Water Are Most Hazardous During a Cleanup?
Contaminated water, like sewage or floodwater, poses significant hazards during cleanup. You must prioritize cleanup safety by wearing protective gear and ensuring proper sanitation to minimize health risks associated with harmful pathogens and chemicals in the water.
How Can I Prevent Future Water Damage?
To prevent future water damage, implement waterproofing techniques around your home and install a sump pump in your basement. These measures effectively reduce water intrusion, keeping your space safe and comfortable for everyone who lives there.
What Should I Wear While Cleaning up Water?
You should wear protective gear like gloves, goggles, and a mask to keep safe. Choose appropriate footwear, such as waterproof boots, to prevent slips and ensure comfort while effectively tackling the cleanup task ahead.
How Long Does It Take for Water Damage to Manifest?
Water damage can manifest within hours, with signs of damage like discoloration, mold growth, or a musty smell appearing quickly. Understanding the water damage timeline is essential in preventing further complications and ensuring proper restoration.
What Insurance Coverage Is Available for Water Damage?
You’ve got options when it comes to water damage. Homeowners insurance often covers sudden incidents, while flooding typically requires separate coverage. Understanding your policy can make filing insurance claims smoother and less stressful for you.
Recap
In the chaos of a water emergency, remember that swift, methodical action can turn the tide. Picture yourself donning protective gear, shutting off utilities, and wielding a wet vacuum like a lifeline. Every step you take—from removing standing water to disinfecting surfaces—builds a fortress against mold. Documenting the damage transforms a chaotic scene into a clear path for insurance claims. If the situation feels overwhelming, don’t hesitate to call in professionals. Your prompt response can make all the difference.