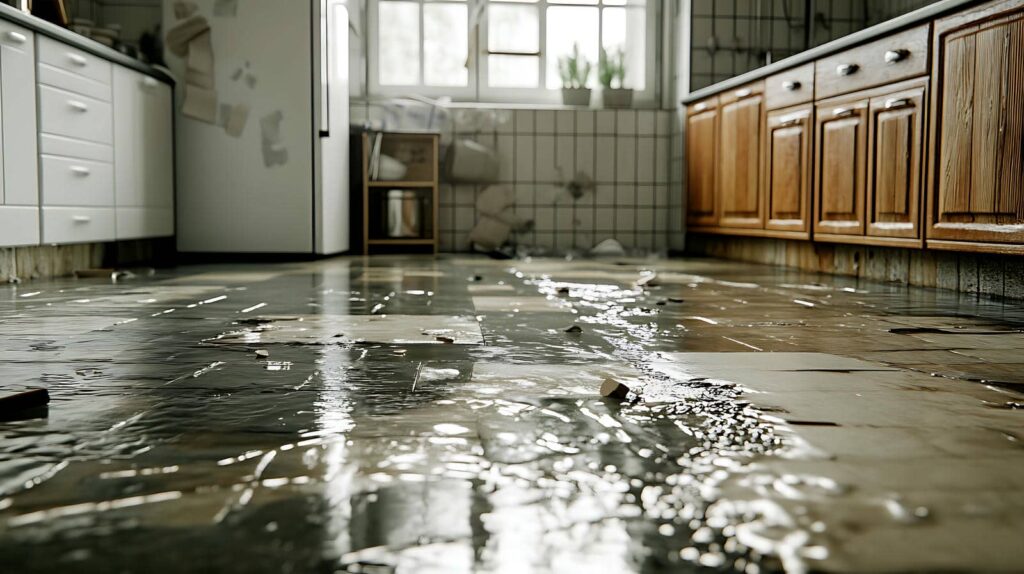
When water damage occurs, mold can quickly become a serious issue if not addressed properly. Understanding the methods of mold remediation is essential for ensuring a safe and healthy environment. You’ll need to assess the infestation’s extent, implement containment strategies, and utilize effective cleaning techniques. But what specific steps should you take to ensure thorough remediation and prevent future growth? The answers lie in a systematic approach to managing moisture and mold.
Key Takeaways
- Identify and eliminate moisture sources, such as leaks or flooding, within 24 to 48 hours to prevent mold growth.
- Use personal protective equipment (PPE) like N95 respirators and gloves while conducting mold remediation for safety.
- Contain contaminated areas with physical barriers and use negative air machines to control airflow during the cleaning process.
- Clean visible mold with appropriate cleaning agents and disinfectants, ensuring thorough inspections afterward to confirm no remaining spores.
- Conduct post-remediation testing to verify mold levels are normal and ensure a safe environment for occupants moving forward.
Understanding Mold Growth After Water Damage
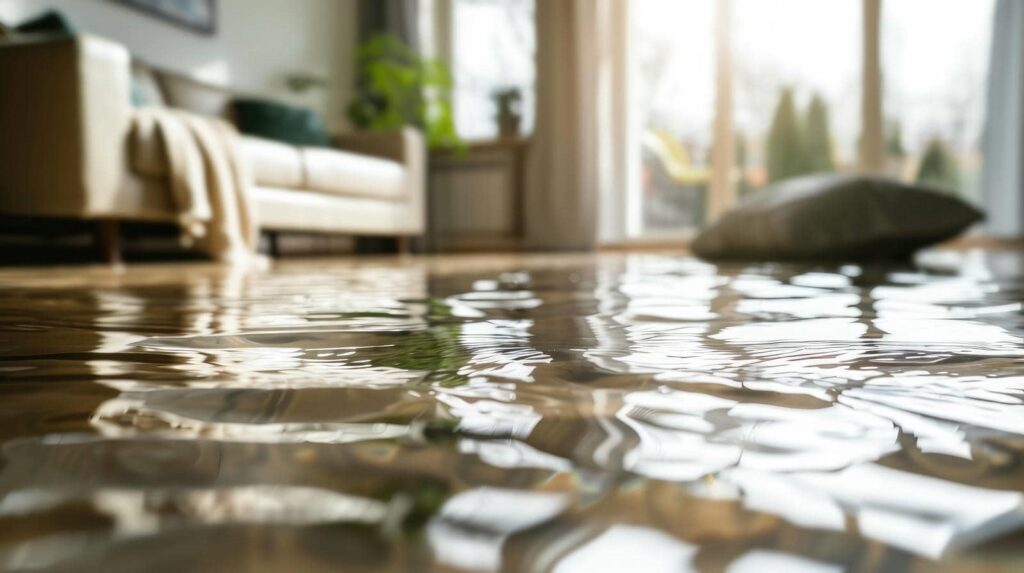
When water damage occurs, it’s important to understand how mold growth can develop rapidly in affected areas. You need to recognize that mold thrives in environments with sufficient moisture sources, such as leaks, floods, or high humidity.
The mold lifecycle begins with spores that become airborne and settle on damp surfaces. Once moisture is present, these spores germinate, leading to mold colonies that can spread quickly.
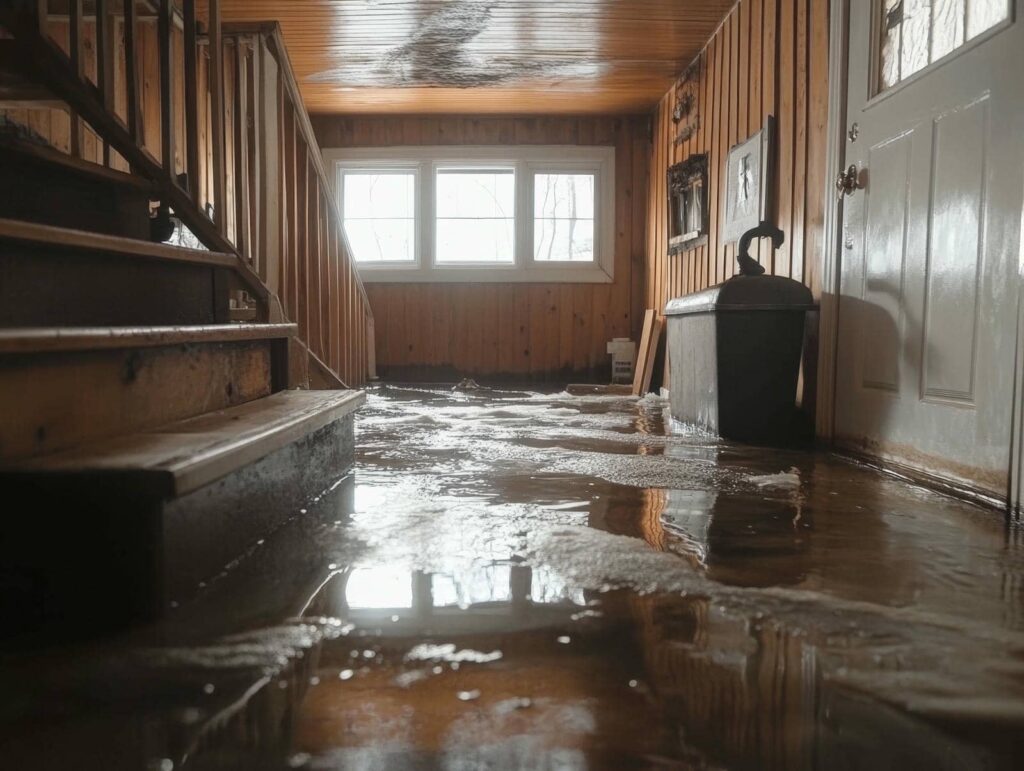
To prevent extensive mold growth, addressing water damage promptly is imperative. You should act within 24 to 48 hours, as this timeframe greatly influences mold proliferation.
Identifying moisture sources is crucial; it could be as simple as a dripping pipe or a flooded basement. By understanding the conditions that foster mold, you can take proactive steps to mitigate risks and create a healthier living environment.
Your awareness and action can make a considerable difference in controlling mold growth after water damage.
Assessing the Extent of Mold Infestation
After identifying the conditions that encourage mold growth, the next step is to assess the extent of mold infestation in your space.
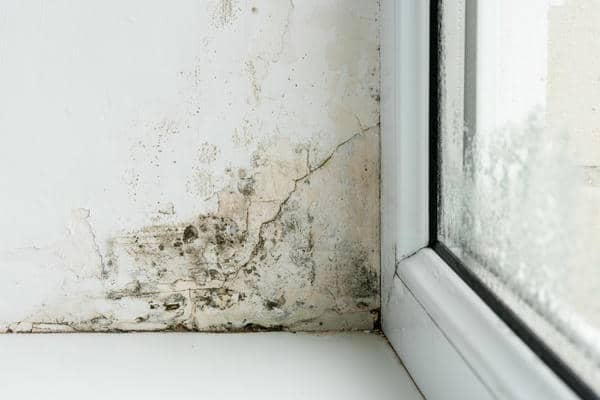
Begin by employing mold identification techniques, such as visual inspections and odor detection. Look for visible mold, discoloration, or water stains on walls and ceilings.
Utilize infestation assessment tools, like moisture meters and air quality tests, to determine hidden mold and moisture levels. These tools can help you pinpoint affected areas and understand the severity of the problem.
Take note of any musty odors, as they often indicate mold presence. Document your findings, including locations and the extent of visible mold, to guide your remediation efforts.
Personal Protective Equipment (PPE) for Mold Remediation
When tackling mold remediation, wearing the right personal protective equipment (PPE) is vital for your safety.
Essential items like respirators, gloves, and protective clothing shield you from harmful spores and contaminants.
Understanding proper PPE usage and adhering to safety protocols protects you and enhances the effectiveness of the remediation process.
Essential PPE Items
Since mold remediation involves hazardous materials that can pose health risks, wearing the right personal protective equipment (PPE) is crucial. To protect yourself during this process, consider key safety gear recommendations.
Start with N95 respirators, which filter airborne mold spores effectively. Wear goggles to shield your eyes from irritants, and use gloves to prevent skin contact with mold. A disposable coverall can also help minimize exposure to contaminants.
Additionally, familiarize yourself with mold identification techniques to recognize potential hazards more effectively.
Proper PPE Usage
Understanding how to use personal protective equipment (PPE) correctly is vital for anyone involved in mold remediation. To ensure your safety and the effectiveness of your work, follow established PPE guidelines.
Always wear gloves, goggles, and respirators suited for mold exposure. It’s important to receive proper PPE training, so you fully understand the limitations and proper fit of each item.
When handling contaminated materials, change your PPE regularly to prevent cross-contamination. Be mindful of your surroundings and remove your gear in a designated clean area.
By adhering to these practices, you protect yourself and foster a safe environment for others, reinforcing a sense of community in mold remediation efforts.
Safety Protocols Importance
The significance of safety protocols in mold remediation can’t be overstated, particularly regarding the use of personal protective equipment (PPE).
When you engage in mold remediation, proper PPE safeguards your health and minimizes exposure to hazardous spores. Effective safety training is essential, as it prepares you to recognize risks and implement emergency protocols, ensuring you handle materials safely.
Wearing appropriate gear—such as respirators, gloves, and suits—helps create a barrier against harmful agents, making your work environment safer.
By adhering to these protocols, you protect yourself and foster a culture of safety within your team.
Containment Strategies to Prevent Mold Spread
To effectively prevent mold spread during remediation, you need to implement physical barriers and control airflow.
Physical barriers, such as plastic sheeting, can isolate contaminated areas, while airflow control measures help limit the movement of spores.
Physical Barriers Implementation
When water damage occurs, implementing physical barriers becomes essential to contain mold growth and prevent its spread throughout your property.
Utilizing appropriate barrier materials and effective installation techniques can notably reduce the risk of contamination. Here are three key strategies to take into account:
Plastic Sheeting: Use heavy-duty plastic sheeting to seal off affected areas, creating a controlled environment that limits mold spores’ movement.
Negative Air Pressure: Set up negative air machines to ensure air flows from clean to contaminated spaces, keeping spores contained.
Sealing Gaps: Verify all gaps and cracks are sealed with caulk or foam to prevent mold from escaping into unaffected areas.
Airflow Control Measures
Effective airflow control is essential in managing mold growth after water damage. You’ll want to implement ventilation techniques that promote air circulation throughout the affected area.
Use fans and dehumidifiers to reduce moisture levels, as high humidity can accelerate mold proliferation. Consider sealing off impacted spaces with plastic barriers to contain spores and prevent them from spreading to unaffected areas.
Additionally, make certain that windows and doors remain closed during the remediation process to maintain controlled airflow. Regularly monitor humidity levels, aiming to keep them below 60%, to create an environment less conducive to mold growth.
Cleaning and Disinfecting Affected Areas
Although cleaning and disinfecting affected areas may seem straightforward, it requires a systematic approach to ensure all mold spores are eliminated and surfaces are properly sanitized.
Here’s how you can effectively tackle this process:
Mold Removal: Start by wearing protective gear, including gloves and masks. Carefully remove visible mold using appropriate cleaning agents designed for mold removal.
Surface Treatment: After the initial cleaning, use a disinfectant that’s effective against mold spores on all affected surfaces. Make sure to follow the manufacturer’s instructions for maximum efficacy.
Thorough Inspection: After cleaning and disinfecting, inspect the area to verify no mold remains. Pay attention to hidden spots, as mold can often hide in less visible locations.
Drying Techniques to Eliminate Moisture
After cleaning and disinfecting, drying the affected areas is essential to prevent mold from returning. You’ll want to focus on effective moisture removal to create a dry environment.
Start by using dehumidification techniques, like running dehumidifiers to extract excess moisture from the air. This process can notably accelerate drying times and reduce the chances of mold growth.
Additionally, employ fans to promote airflow in the affected spaces. Position them strategically to facilitate efficient air movement across surfaces. If possible, open windows to enhance ventilation, allowing fresh air to circulate and further aid in drying.
For more extensive damage, consider using specialized drying equipment that combines heat and airflow. This method effectively targets hidden moisture in walls and floors.
Post-Remediation Verification and Prevention Measures
Once you’ve completed mold remediation, verifying the effectiveness of your efforts is essential to ensure a safe environment. This step ascertains that the issues are fully resolved and prevents future problems.
Here’s how you can conduct post-remediation verification:
Mold Testing: Conduct tests in affected areas to confirm that mold levels are back to normal. Use a reliable service for accurate results.
Moisture Control: Check humidity levels and verify they’re below 60%. Use dehumidifiers if necessary to maintain a favorable environment.
Visual Inspection: Inspect for signs of mold regrowth or moisture retention. Look in hidden places like behind walls or under carpets.
Frequently Asked Questions
How Long Does Mold Remediation Typically Take?
Mold remediation typically takes 1 to 5 days, depending on the extent of the mold growth and the remediation timeline. It’s crucial to act quickly to prevent further issues and ensure a safe environment.
Can I Stay in My Home During Remediation?
You shouldn’t stay during remediation, especially if a home assessment shows significant mold safety concerns. For instance, families often relocate temporarily to avoid health risks while professionals handle the situation effectively and safely.
What Are the Costs Associated With Mold Remediation?
Mold assessment costs typically range from $200 to $600, while remediation price factors include the extent of damage, location, and mold type. Understanding these costs helps you budget effectively for a safe, healthy living environment.
Will My Insurance Cover Mold Remediation Expenses?
Your insurance might cover mold remediation, but it depends on your policy specifics. Check your coverage limits and any exclusions. Understanding these details can save you from unexpected expenses during a stressful time.
How Can I Prevent Mold After Remediation?
To prevent mold after remediation, focus on mold prevention tips like controlling humidity, ensuring proper ventilation, and conducting post-remediation maintenance. Regularly inspect your home and promptly address any leaks or water issues to maintain a healthy environment.
Conclusion
Tackling mold after water damage is like traversing a maze; each step requires careful planning and execution. By identifying moisture sources, containing affected areas, and utilizing effective cleaning methods, you can clear the path to a mold-free environment. Don’t forget the importance of verification tests and ongoing maintenance to prevent future infestations. With diligence and the right strategies, you can reclaim your space and ensure it remains safe and healthy for everyone.