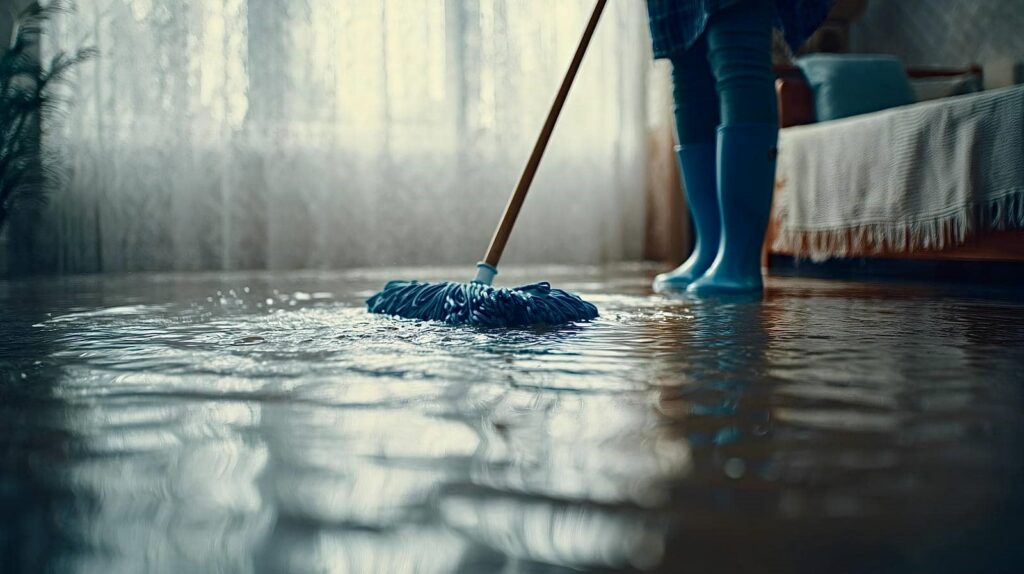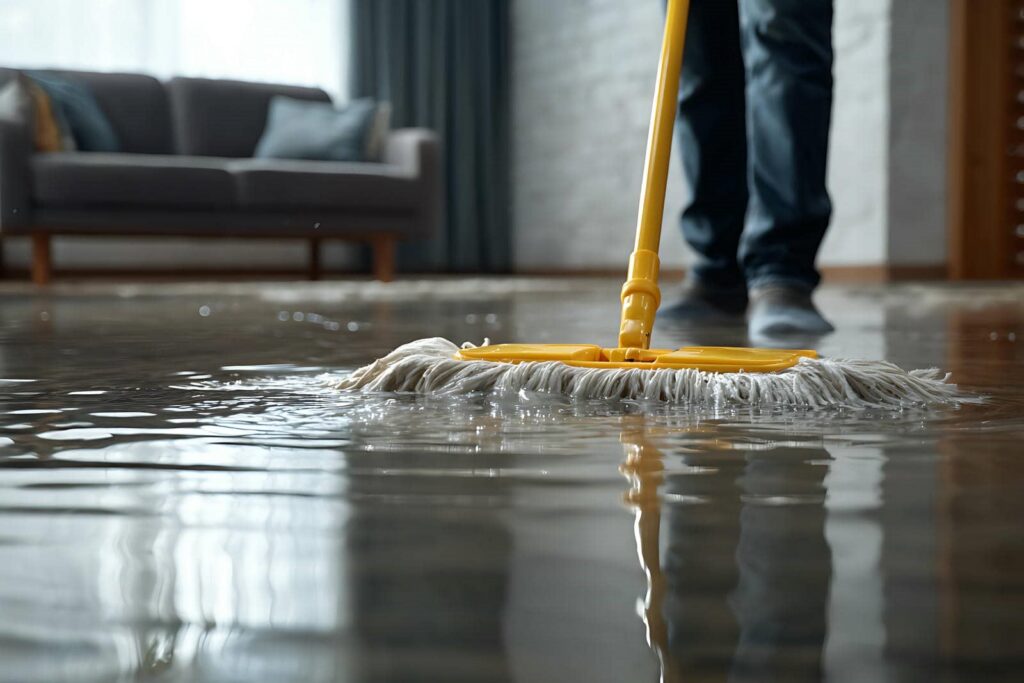
When you face water damage, it’s essential to tackle it methodically. Start by pinpointing the source of the moisture, as this will guide your next steps. Then, evaluate the extent of the damage using moisture meters and visual inspections. Document everything meticulously, as this will be important for any insurance claims. With a clear understanding of the situation, you can begin to plan for effective restoration. But where do you go from here?
Key Takeaways
- Conduct thorough inspections for visible signs of moisture, including discoloration on walls and ceilings.
- Use moisture meters to accurately locate potential leaks and assess dampness levels in affected areas.
- Evaluate the extent of damage by checking for mold growth, warped materials, and structural integrity of beams.
- Document findings with detailed photographs and written inventories for insurance claims and future reference.
- Develop a restoration plan that includes timelines, budgets, and communication with contractors and insurance providers.
Identifying the Source of Water Damage
How can you effectively pinpoint the source of water damage in your property? Start with a thorough inspection. Look for visible signs of moisture, such as discoloration on walls or ceilings. Utilize tools like moisture meters to aid in source identification, as these devices provide accurate readings that guide you to potential leaks.
Pay attention to areas around plumbing fixtures, appliances, and windows, as these are common culprits for leaks.
Next, conduct leak detection by checking for dripping pipes or damp spots. If the water damage isn’t apparent, trace plumbing lines to identify hidden leaks.
Don’t forget to inspect your roof, as missing shingles or flashing can lead to significant issues.
Evaluating the Extent of Damage
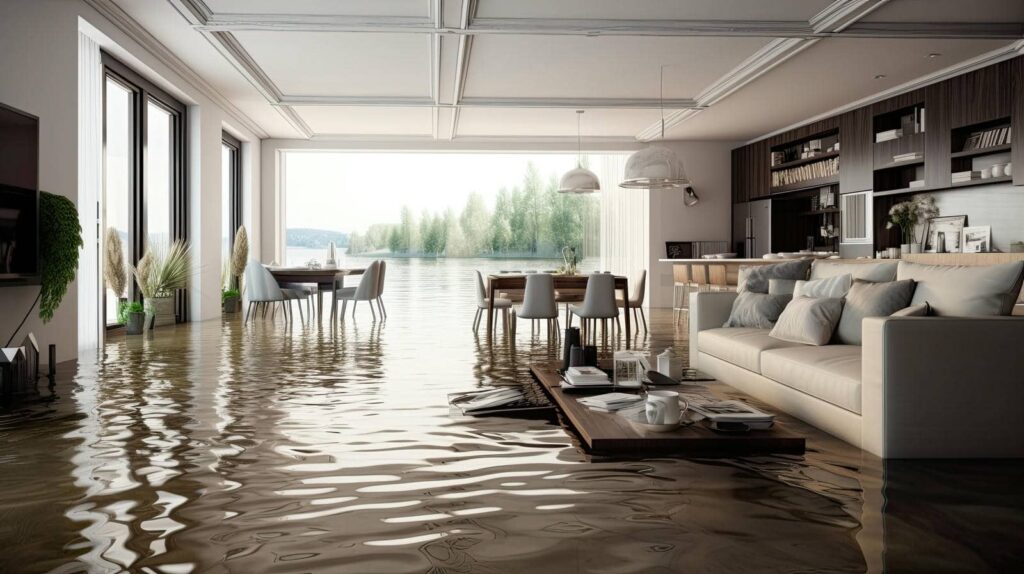
After identifying the source of water damage, the next step is to appraise the extent of the damage to your property. Start by evaluating the water level; knowing how deep the water penetrated will guide your appraisal.
Use moisture mapping techniques to identify affected areas, allowing you to visualize moisture spread within walls, floors, and ceilings. This method involves using specialized tools, such as moisture meters, to detect hidden dampness that mightn’t be visible to the naked eye.
Take notes on any discoloration, peeling paint, or warped materials, as these can indicate the severity of the damage.
Don’t forget to check for mold growth, which can develop quickly in damp conditions. By systematically appraising these elements, you’ll get a clearer picture of the situation and prepare for necessary repairs.
This thorough approach ensures you address all affected areas effectively, promoting a safe and healthy living environment.
Inspecting Affected Areas and Materials
As you begin inspecting the affected areas and materials, focus on systematically evaluating each section to determine the full impact of water damage.
Start with visible surfaces like walls and floors; look for discoloration, peeling paint, or warped materials. These signs often indicate moisture intrusion.
Pay close attention to hidden spaces, such as behind cabinets and under sinks, where mold growth can thrive unnoticed.
Next, assess the structural integrity of beams and joists. Check for any soft spots or sagging, as these could compromise safety.
Use a moisture meter to quantify dampness levels, guiding your next steps.
Don’t forget to examine insulation and drywall, as they can harbor mold and further weaken structures.
Document your findings thoroughly, as this will help in future remediation efforts.
Documenting Damage for Insurance Claims
Documenting damage for insurance claims is a critical step in the recovery process, ensuring you have the necessary evidence to support your case. Start by taking clear, detailed photographs of all affected areas, showing both the extent of the damage and any items that may need replacement. Make sure to capture wide-angle shots and close-ups to provide a thorough view.
Next, create a written inventory of damaged items, including descriptions, approximate values, and purchase dates. This insurance documentation will be essential during your claim submission. Additionally, note any repairs you’ve made to prevent further damage, as this shows your proactive approach.
Keep all receipts for any temporary repairs, as these can bolster your claim. Finally, organize your documentation chronologically, making it easier for your insurance adjuster to review your case efficiently. This methodical approach will strengthen your claim and help you receive the support you need.
Planning for Restoration and Repairs
To effectively plan for restoration and repairs, you must first assess the extent of the damage and prioritize restoration tasks accordingly. Identify which areas require immediate attention to prevent further deterioration.
Once you’ve documented the damage, develop a realistic restoration timeline that outlines each phase of the process. This ensures you stay organized and on track.
Next, establish a repair budget by estimating costs for materials, labor, and any professional services you may need. Research local contractors for quotes to make informed decisions.
It’s vital to allocate funds wisely, prioritizing urgent repairs that will mitigate additional damage.
Lastly, communicate with your insurance provider to understand coverage limits and claim processes.
Frequently Asked Questions
How Can I Prevent Future Water Damage in My Home?
You can prevent future water damage by installing proper drainage systems and using waterproof materials in vulnerable areas. Regularly check and maintain these systems to ensure they function effectively and protect your home from moisture intrusion.
What Are the Health Risks Associated With Water Damage?
Water damage can lead to serious health effects, including respiratory issues and infections due to mold. You’re also at risk of toxic exposure from contaminated water, which can cause long-term health complications if not addressed.
How Long Does It Take to Dry Out Water-Damaged Areas?
Imagine a sponge, soaked and heavy; that’s your water-damaged area. Drying time varies, but typically, it takes 24 to 48 hours to reach normal moisture levels, ensuring your space feels like home again.
Can I Handle Water Damage Repairs Myself?
Yes, you can handle water damage repairs yourself, but consider the cost considerations. DIY repairs can save money, yet make certain you possess the right skills and tools to effectively restore your space without causing further issues.
What Should I Do if I Suspect Mold Growth?
If you suspect mold growth, start with mold identification by inspecting damp areas. Wear protective gear, then remove visible mold using appropriate cleaning solutions. Keep the area ventilated and monitor for recurrence to ensure thorough mold removal.
Summary
In evaluating water damage, you’ve identified the source, assessed the extent, inspected affected areas, and documented your findings. Now, as you plan for restoration, prioritize tasks, establish a budget, and consult with contractors. By coordinating with your insurance provider, you ensure coverage and protection. Remember, taking each step methodically and thoroughly aids in effective restoration and helps safeguard your property against future issues. Stay organized, stay proactive, and reclaim your space efficiently.