Water damage can be overwhelming, but tackling repairs doesn’t have to break the bank. Post-Water Damage Repair starts with evaluating the extent of the damage and prioritizing essential repairs. Focusing on drying affected areas is vital to help prevent mold growth and further deterioration. By choosing budget-friendly solutions and practical approaches, you can manage costs more effectively while restoring your space and avoiding unnecessary repairs.
Key Takeaways
- Prioritize DIY repairs for minor damage to save on labor costs and utilize online tutorials for guidance.
- Use water-resistant materials like drywall and eco-friendly paints to ensure durability without overspending.
- Rent tools instead of purchasing to minimize upfront costs while still completing necessary repairs effectively.
- Document all damages with photos for insurance claims, maximizing your potential reimbursement and minimizing out-of-pocket expenses.
- Regularly inspect and maintain your plumbing and drainage systems to prevent future water damage and associated repair costs.
Understanding the Impact of Water Damage
When you experience water damage, it’s essential to understand its immediate and long-term effects on your home.
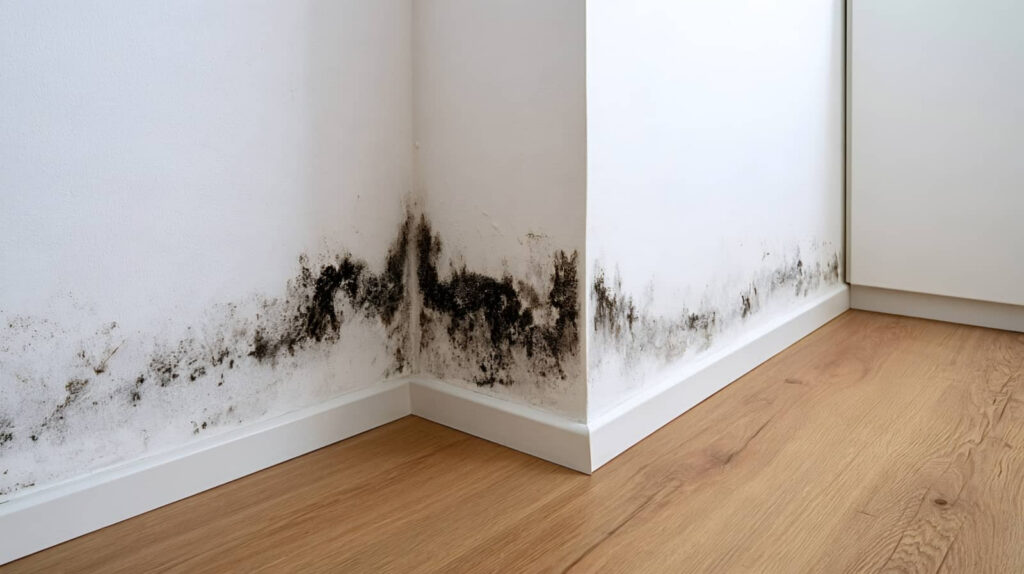
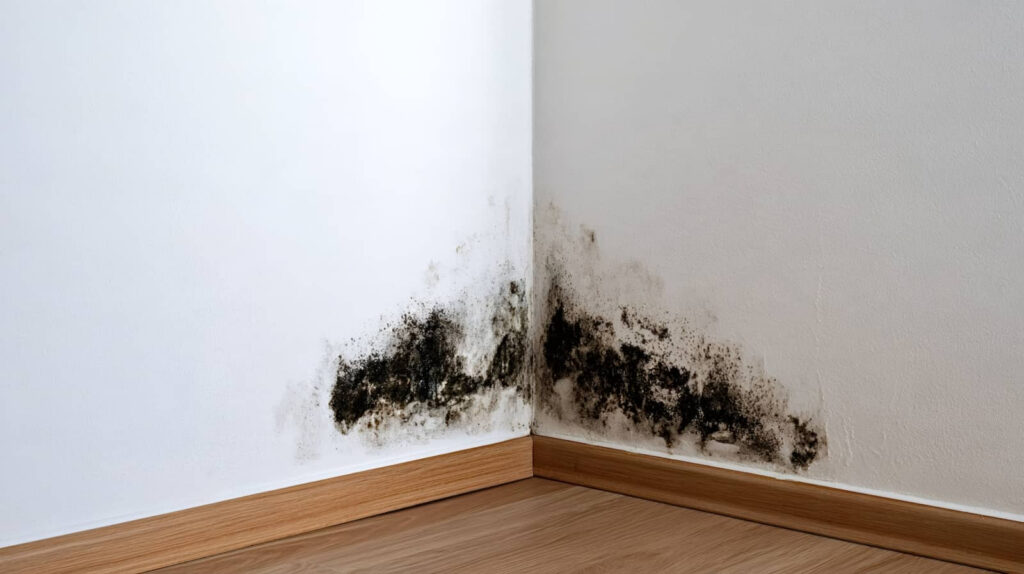
Initially, you may notice unsightly stains or dampness, but the real danger lies beneath the surface. If water isn’t removed quickly, mold growth can begin within 24 to 48 hours, posing health risks to your family.
Additionally, prolonged exposure can compromise your home’s structural integrity, weakening walls and floors. This can lead to costly repairs down the line.
To protect your space and loved ones, act fast. Addressing water damage promptly minimizes mold growth and structural issues while helping maintain the comfort and safety of your home, ensuring it remains a welcoming haven for you and your family.
Assess the Extent of Water Damage
Before diving into repairs, it’s essential to assess the extent of water damage in your home. This step helps you prioritize tasks and aids in mold prevention and moisture control.
Start by examining the affected areas thoroughly and look for signs of damage.
- Check walls and ceilings for discoloration or warping.
- Inspect floors for softness or mold growth.
- Assess your belongings to determine what can be salvaged.
- Identify potential sources of moisture to prevent future issues.
Create a Repair Plan
Once you’ve assessed the extent of the water damage, it’s time to create a repair plan that outlines your next steps.
Start by establishing a realistic repair timeline. Break the tasks into manageable sections, prioritizing what needs immediate attention. This won’t only keep you organized but will also provide a sense of progress.
Next, focus on material selection. Choose budget-friendly options that still meet safety and aesthetic standards. For example, consider using water-resistant drywall or eco-friendly paints, which can save you money in the long run.
Documenting each step in your plan helps you stay on track and ensures you don’t overlook any important details.
Prioritize Essential Repairs First
Essential repairs should always take precedence after water damage, as addressing critical issues can prevent further complications.
Start by creating an emergency checklist to identify what needs immediate attention. This helps establish a clear repair timeline, ensuring you tackle the most pressing problems first.
Focus on these essential repairs:
- Structural integrity: Check for damage to beams and walls.
- Electrical systems: Inspect wiring and outlets for safety.
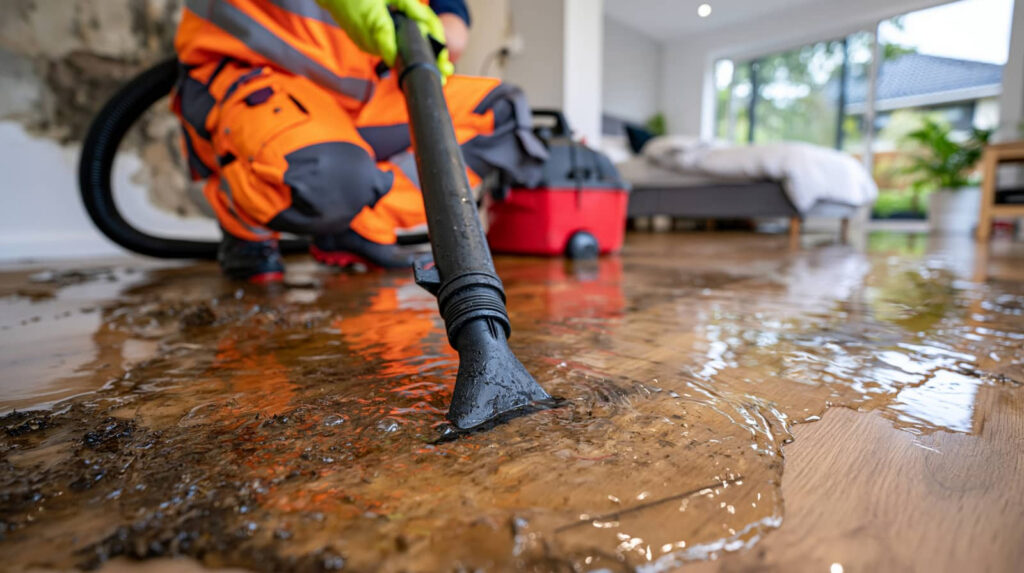
- Water removal: Confirm all standing water is eliminated to prevent mold.
- Drying and ventilation: Proper airflow helps to mitigate long-term issues.
Rent Tools Instead of Buying
While tackling post-water damage repairs, renting tools can greatly reduce your expenses without sacrificing quality.
Tool rental services offer a wide range of equipment, from heavy-duty wet vacuums to specialized drying machines, allowing you to choose exactly what you need for your specific project.
By opting for rentals, you avoid the hefty upfront costs of purchasing tools you might only use once.
Plus, many rental companies provide maintenance and support, ensuring you have reliable equipment for your repairs.
As you focus on getting your space back to normal, those cost savings can make a big difference.
Cost-Effective DIY Repair Strategies for Water Damage
Tackling water damage yourself can save you significant money, and with the right strategies, you can effectively restore your space.
Start by addressing mold prevention; a thorough cleaning with vinegar or a mild bleach solution can help keep your environment safe.
Next, explore affordable flooring options like vinyl or laminate, which are both durable and easy to install.
Here are some cost-effective DIY strategies:
- Remove and dry any wet insulation or drywall promptly.
- Use fans and dehumidifiers to expedite drying.
- Seal any leaks to prevent future damage.
- Consider using a moisture meter for ongoing monitoring.
Compare Quotes From Local Contractors
When you’re dealing with water damage repairs, comparing quotes from local contractors can make a significant difference in your overall costs.
Start by gathering multiple estimates to see where each contractor stands. Pay close attention to their credentials—check for licenses, certifications, and insurance. This ensures you’re working with reputable professionals.
As you review the service comparisons, look beyond the price; consider what’s included in each quote, such as labor, materials, and warranties.
Don’t hesitate to ask questions about their experience with similar repairs. Building a rapport with your chosen contractor can foster trust, making the entire process smoother.
Ultimately, making informed choices will help you feel secure and connected to your repair journey.
Choose Durable Materials That Last
Once you’ve selected a contractor, it’s time to focus on the materials you’ll use for repairs. Choosing durable materials not only enhances your home but also offers peace of mind.
Opt for water-resistant materials to prevent future issues and ensure long-lasting finishes that withstand wear and tear. Here are some great options to evaluate:
- Vinyl flooring: Easy to clean and resistant to moisture.
- Fiberglass insulation: Effective and mold-resistant.
- Tile surfaces: Durable and stylish, perfect for wet areas.
- Acrylic paint: Provides a protective layer with a long-lasting finish.
Explore Insurance Claim Options
How can you navigate the often complex world of insurance claims after water damage? Start by reviewing your policy to understand your insurance coverage. It’s vital to know what’s included and what’s not.
Document all damages with photos and detailed notes; this evidence will support your claim. Contact your insurance company to initiate the claim process, and don’t hesitate to ask questions if you’re unsure about anything.
Be persistent—follow up regularly to ensure your claim is being processed. If needed, consider consulting a public adjuster to advocate for you.
Prevent Future Water Damage With Regular Maintenance
Maneuvering through insurance claims can be overwhelming, but taking proactive steps can help you avoid future water damage altogether.
Regular maintenance is key to protecting your home. Here’s what you can do:
- Inspect and clean drainage systems regularly to ensure proper flow.
- Install moisture barriers in basements and crawl spaces to prevent seepage.
- Check for leaks in plumbing and repair them immediately.
- Keep gutters clear to avoid overflow and water pooling around your foundation.
Frequently Asked Questions
How Do I Know if My Home Is Structurally Safe Post-Water Damage?
To ensure your home’s structurally safe after water damage, schedule a foundation inspection and conduct detailed safety assessments. Look for signs like cracks or sagging, and consult professionals for an extensive evaluation and peace of mind.
What Health Risks Are Associated With Water Damage?
“An ounce of prevention’s worth a pound of cure.” Water damage can lead to mold growth, which harms air quality and poses health risks. Ensure you address moisture quickly to protect your home and well-being.
Can I Live in My Home During Repairs?
You can live in your home during repairs if it’s safe, but consider temporary housing if conditions worsen. Check your insurance coverage, as it might cover costs for relocation while addressing the damage effectively.
How Long Does It Typically Take to Repair Water Damage?
Repair timelines for water damage typically range from a few days to several weeks, depending on the extent of the damage. Understanding restoration processes helps you plan effectively and minimizes disruption to your home life.
What Should I Do if Mold Develops After Water Damage?
If mold develops after water damage, act quickly—indoor air can be contaminated. Use effective cleanup techniques and mold prevention strategies, like proper ventilation and dehumidifiers, to keep your space safe and healthy.
Conclusion
By following these budget-friendly tips, you can transform your water-damaged space into a safe haven. Picture yourself stepping into a dry, welcoming room, free from the shadows of mold and decay. Prioritize repairs, embrace DIY projects, and invest in durable materials to ensure your home stands strong against future storms. With a little creativity and effort, you’ll save money while restoring your sanctuary, making it a place filled with warmth and comfort once again.